Create a chatbot from scratch
Intro
On this page, we will guide you through the process of creating a fully functional chatbot from the ground up. To start creating from scratch, this comprehensive guide will equip you with the tools and knowledge needed to create an effective chatbot solution.
Step 1: Log in to your console account
- Open the Omni-channel chat dashboard
- Navigate to the 'Bots' tab
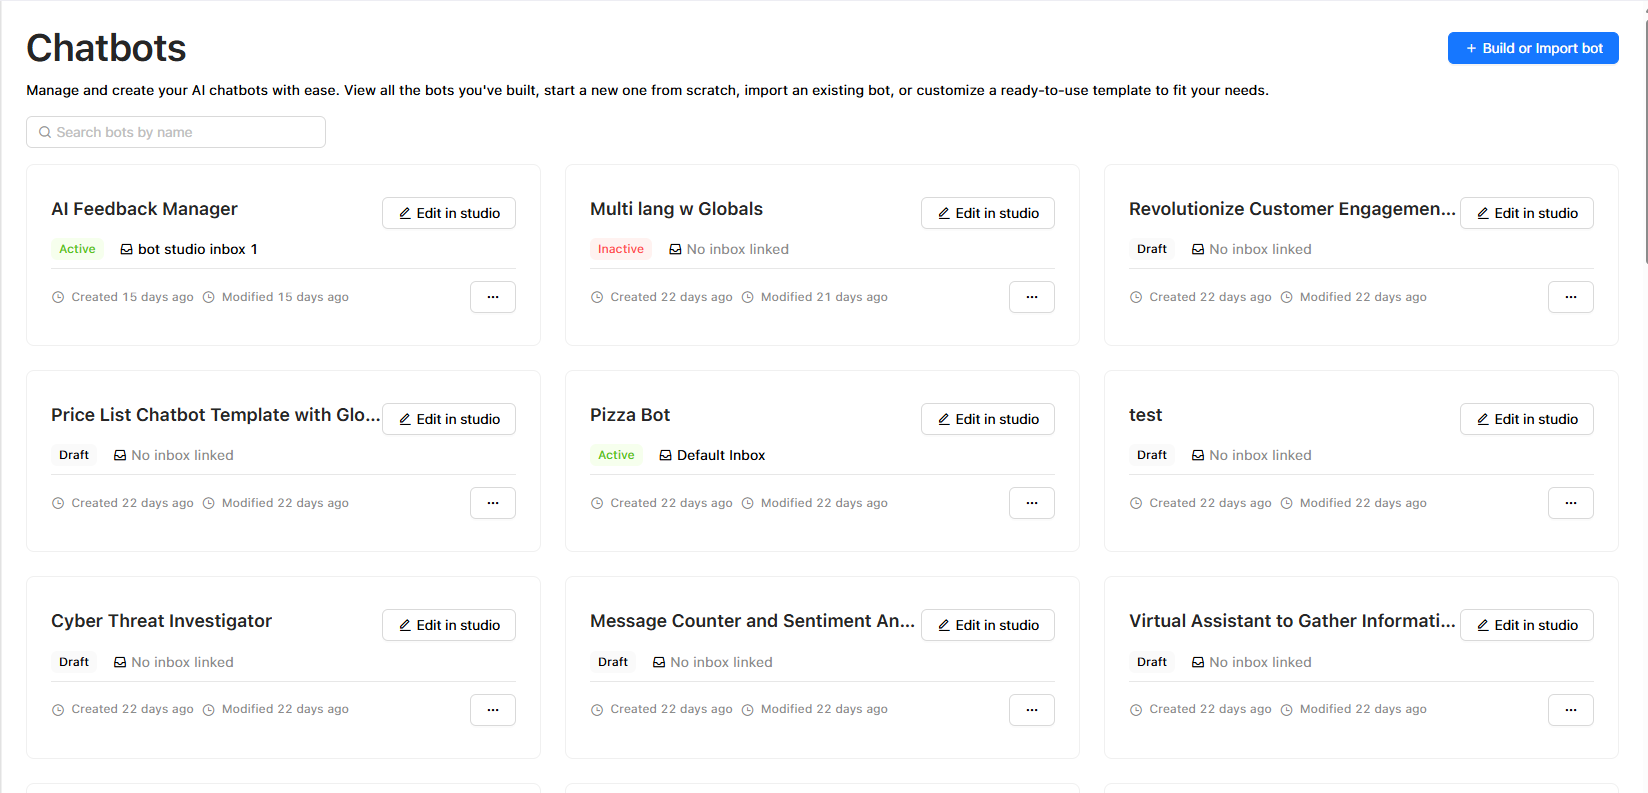
Step 2: Create a New Bot from Scratch
- In the "Bots" section, click the "Build or Import Bot" button.
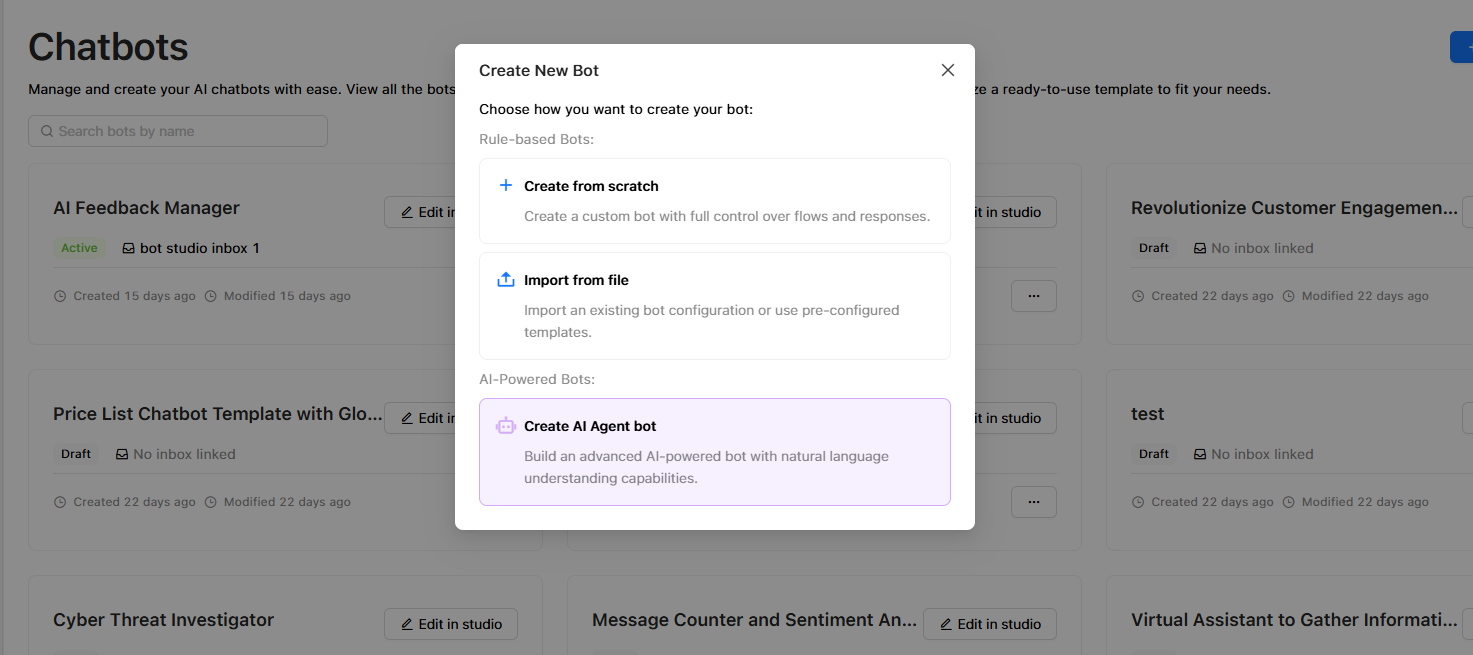
- Choose 'Create from scratch', enter the bot name, and the bot studio for this new bot will appear to start the bot building.
Step 3: Setting Up the Start Message
- Upon creating a new bot from scratch, you'll see two default blocks: "Welcome" and "DefaultFallback."
- Start by setting up your chatbot's initial message. Click on the "Welcome" block to edit its content. This is the message that users will see when they initiate a conversation with your chatbot. Customize it to provide a warm welcome or any relevant information.
Step 4: Creating New Blocks and Paths
- Now, let's create a conversation flow for your chatbot. Begin by drawing paths from the exit ports of existing blocks to create new blocks with specific actions.
- Click on the exit port of a block (e.g., the "Welcome" block) and drag it to a space on the canvas to create a new block.
- A menu will appear, allowing you to choose a specific action for this block. You can select actions such as "Reply" or "If Online Agent."
- After selecting an action, you can name your block to keep your conversation flow organized and easily understandable.
Step 5: Handling Online Agent Availability
- To handle scenarios when an online agent is available, draw a path from the "Online" exit port of a block.
- Create a corresponding block by choosing the "Agent Handoff" action. This block will handle interactions when a live agent is online.
Step 6: Handling Offline Agent Availability
- To handle situations when an online agent is not available, draw a path from the "Else" exit port of a block.
- Create a second block by choosing the "Reply" action in this case. This block will be used to provide an offline message to the user.
- Customize the content of the "Reply" block to convey a message or offer assistance even when no live agent is available.
Step 7: Continue Creating Blocks
- You can continue to create as many blocks as needed to build a complex chatbot conversation flow.
- On the left side of the Bot Design Studio, you'll find a list of all your blocks, making it easy to navigate and edit them as necessary.
Step 8: Test Your Chatbot
- Once you have created your chatbot's conversation flow, it's important to test it thoroughly to ensure it behaves as expected.
That's it! You've successfully created a chatbot from scratch using the Bot Design Studio. You can further refine your chatbot's behavior, add more complex logic, and integrate it with various channels to provide efficient customer support and engagement.
Updated about 1 year ago