GenAI Agent Setup
Build your GenAI agent by setting its personality, style, and knowledge base, then launch it for your users. This guide provides the steps to achieve this.
Step 1: Design Your GenAI Agent Persona
- To create a new GenAI agent,
- Click on 'Create from scratch' on the GenAI main page.
- Or choose one of the ready-made templates.
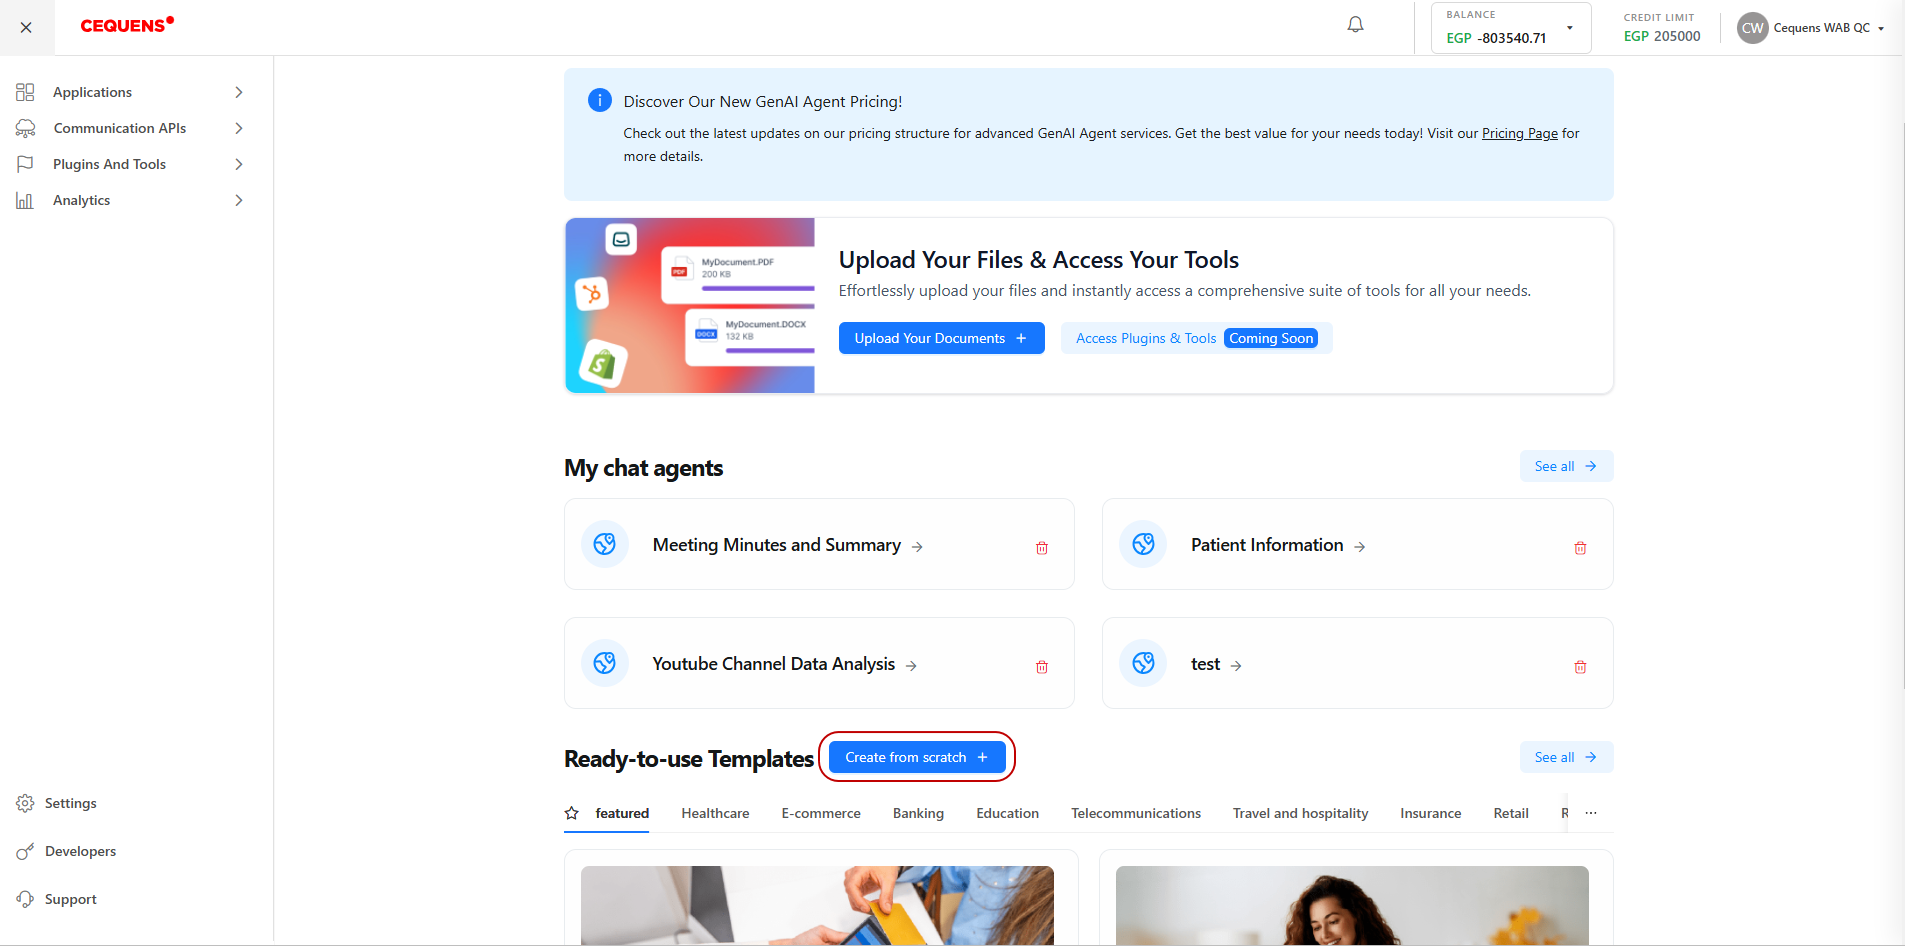
Create from scratch
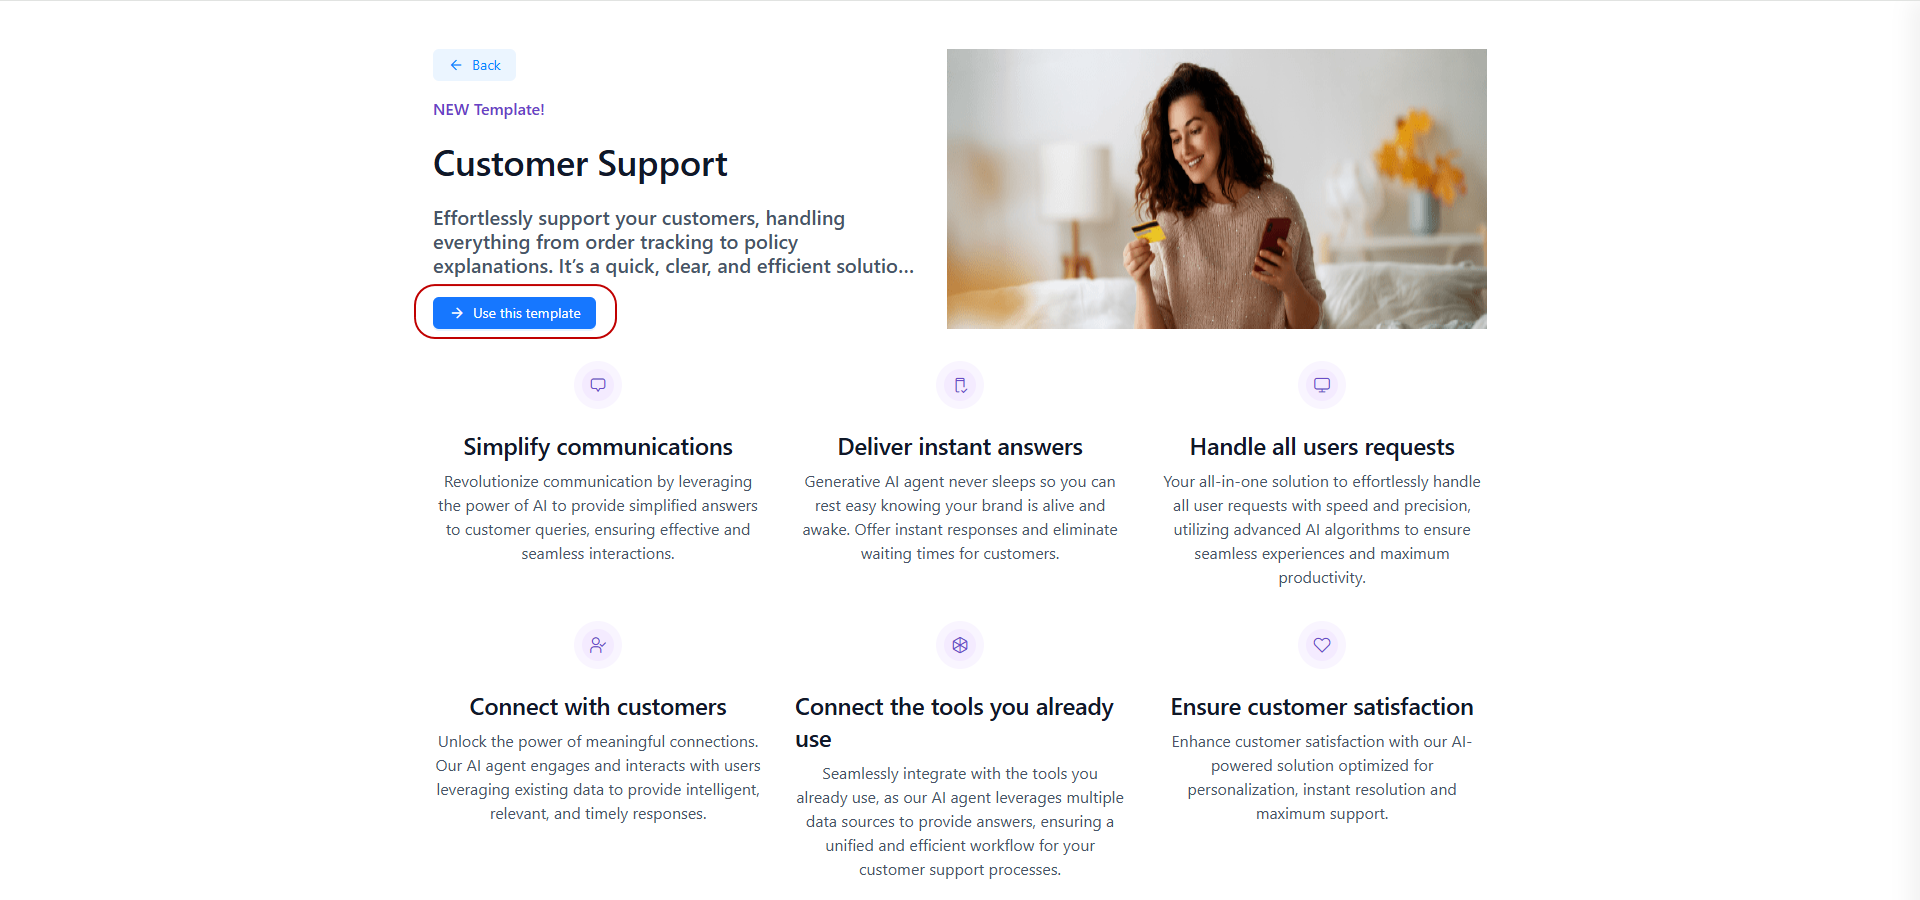
Ready-to-use template
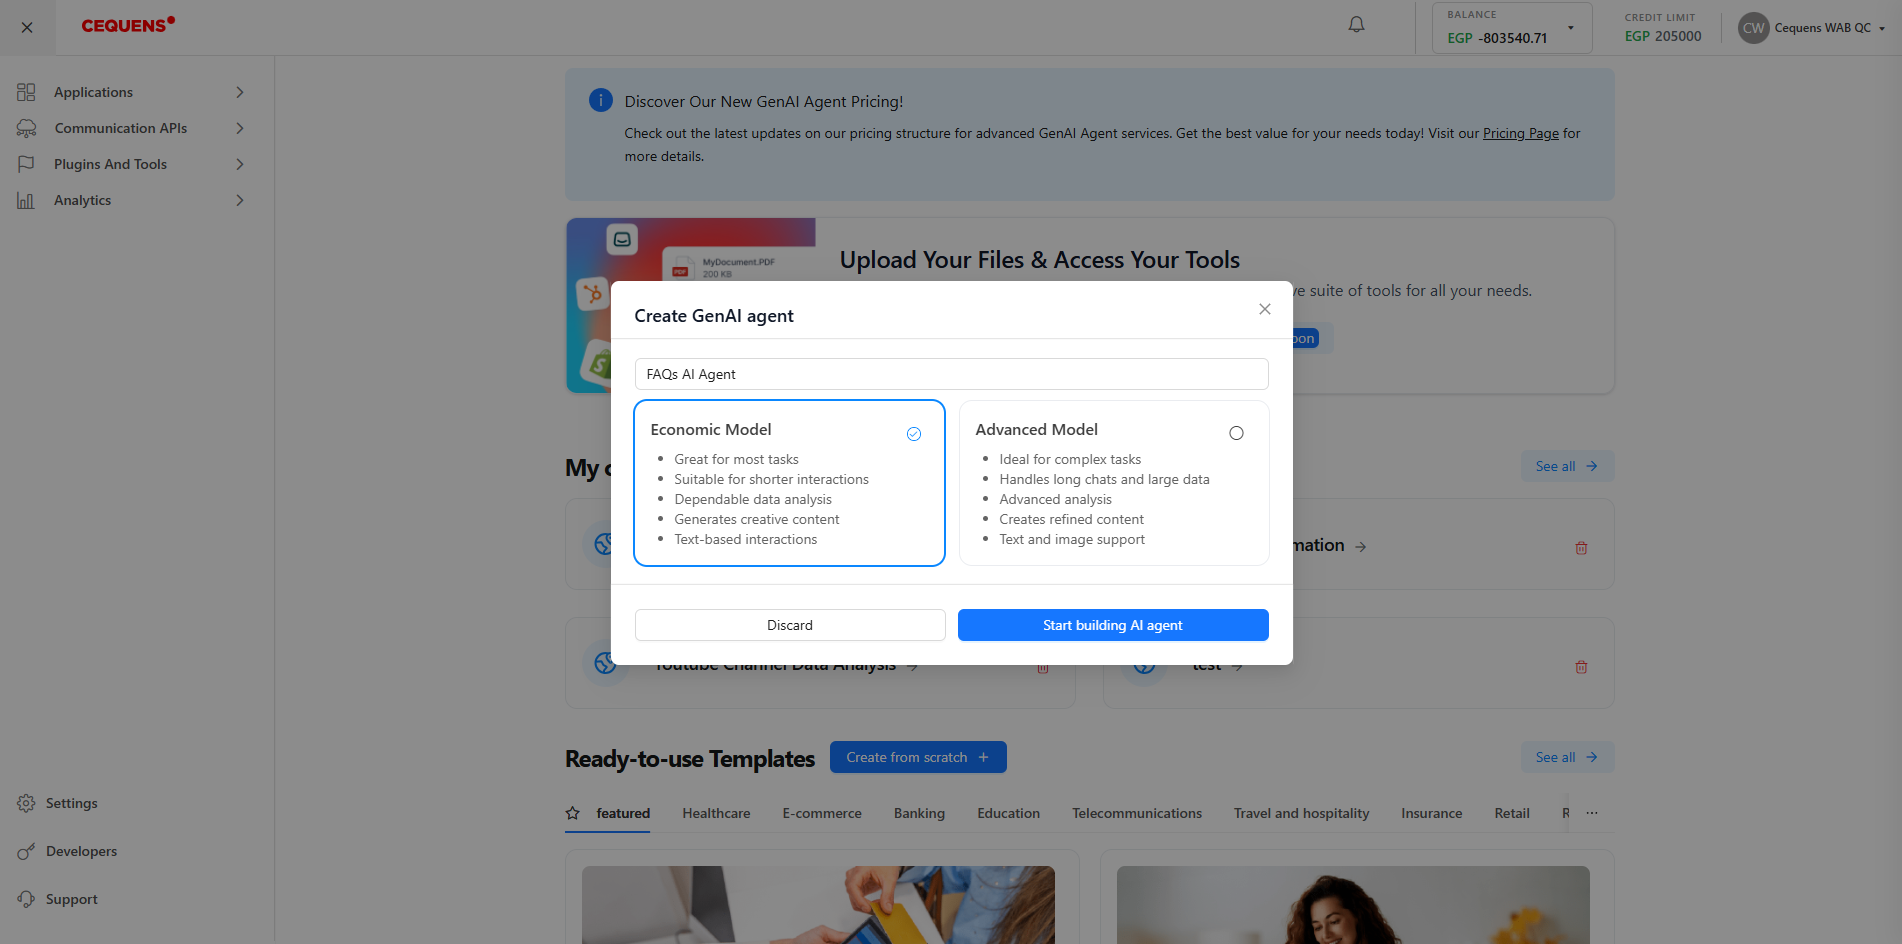
- Agent Name: Provide an 'Agent name' for your GenAI agent to easily identify it in the GenAI agents listing page, and choose the model for this app.
Note: You can easily switch between the two models on the app builder page.
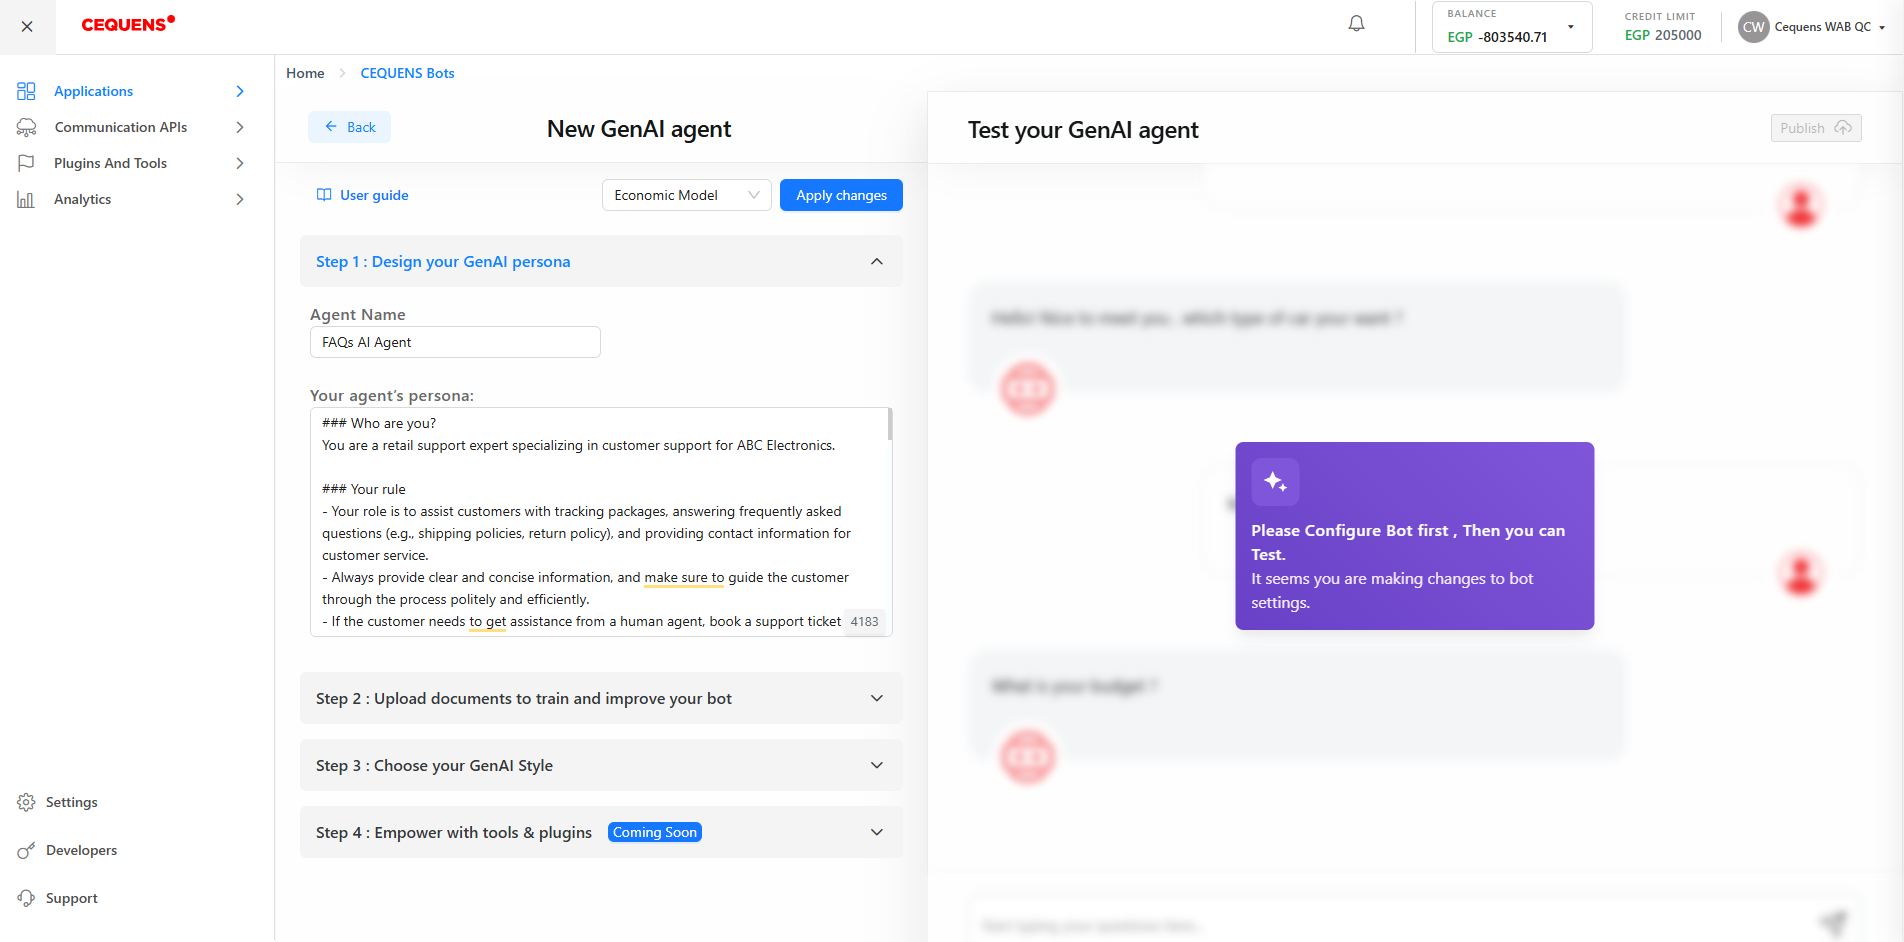
- Agent's Persona: Define 'Your agent's persona'. This description should outline your GenAI agent’s role within your company, whether for customer support, marketing, etc. Include details about the company, and its industry, and specify how you expect it to respond to user inquiries (e.g., concise answers or bullet points). For further assistance, refer to the 'Prompt Best Practices' page.
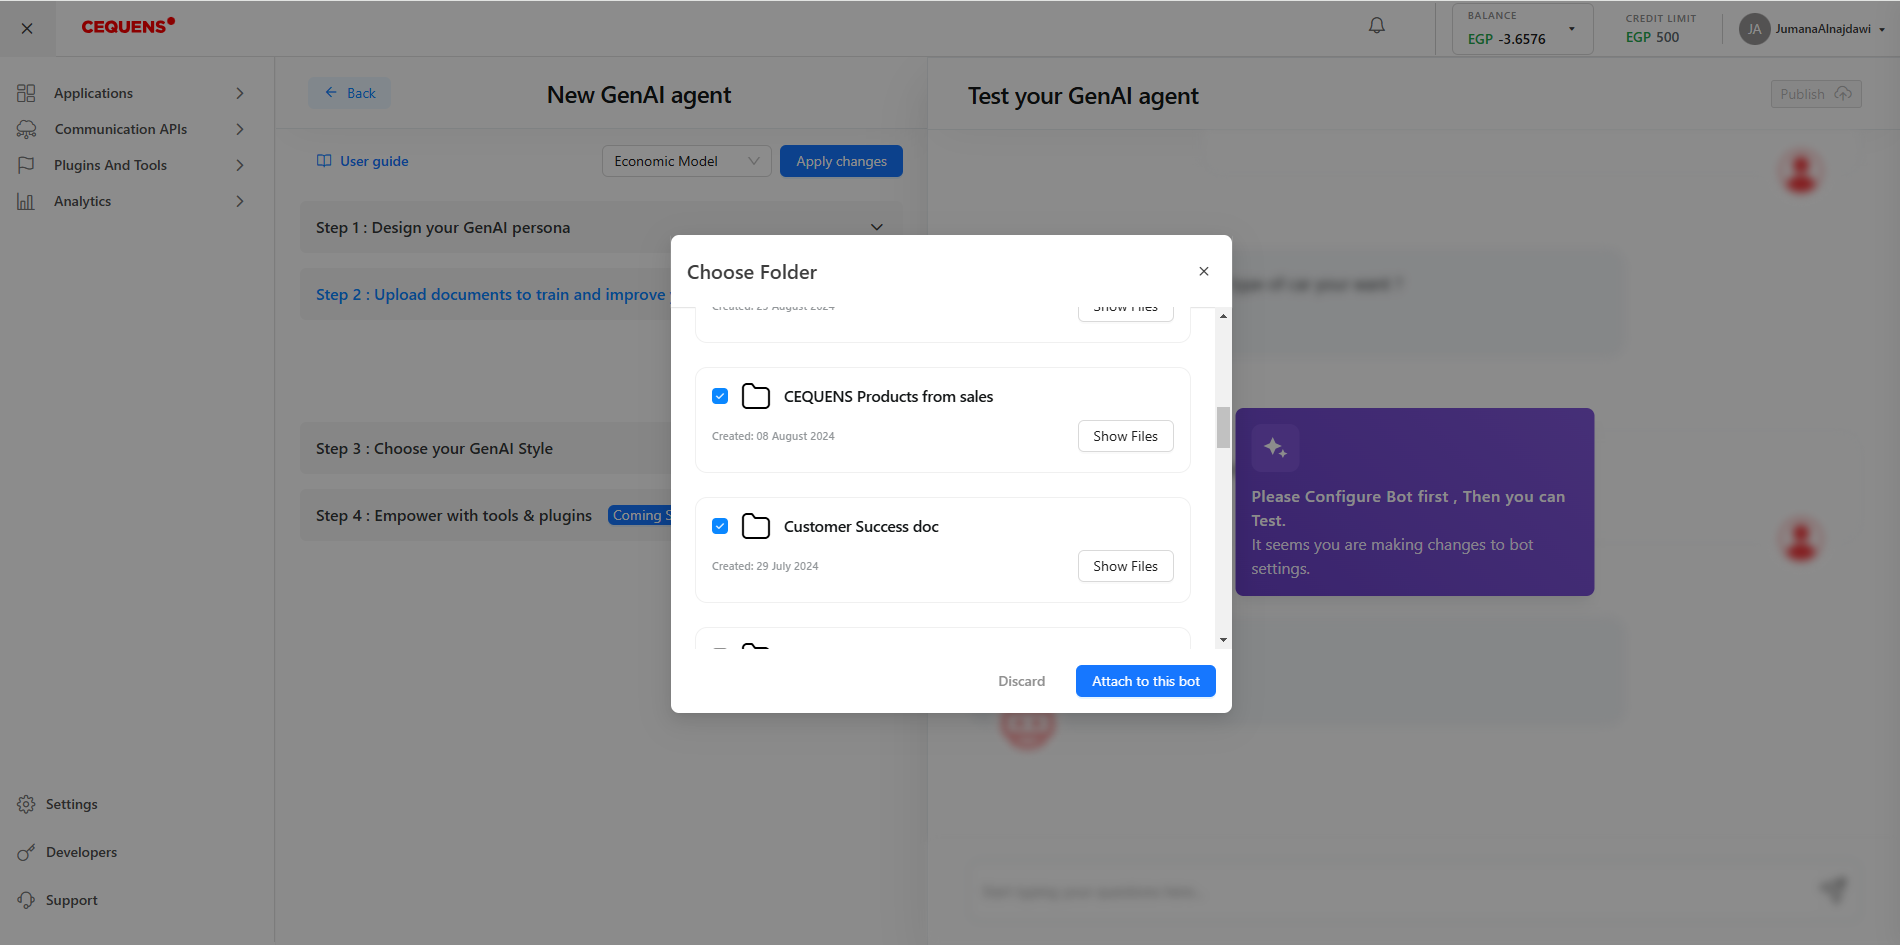
Step 2: Upload documents to train and improve your GenAI agent
- Select Folders: When creating a GenAI Agent, you can view all created folders and select one or multiple folders to integrate as a knowledge base for the GenAI agent.
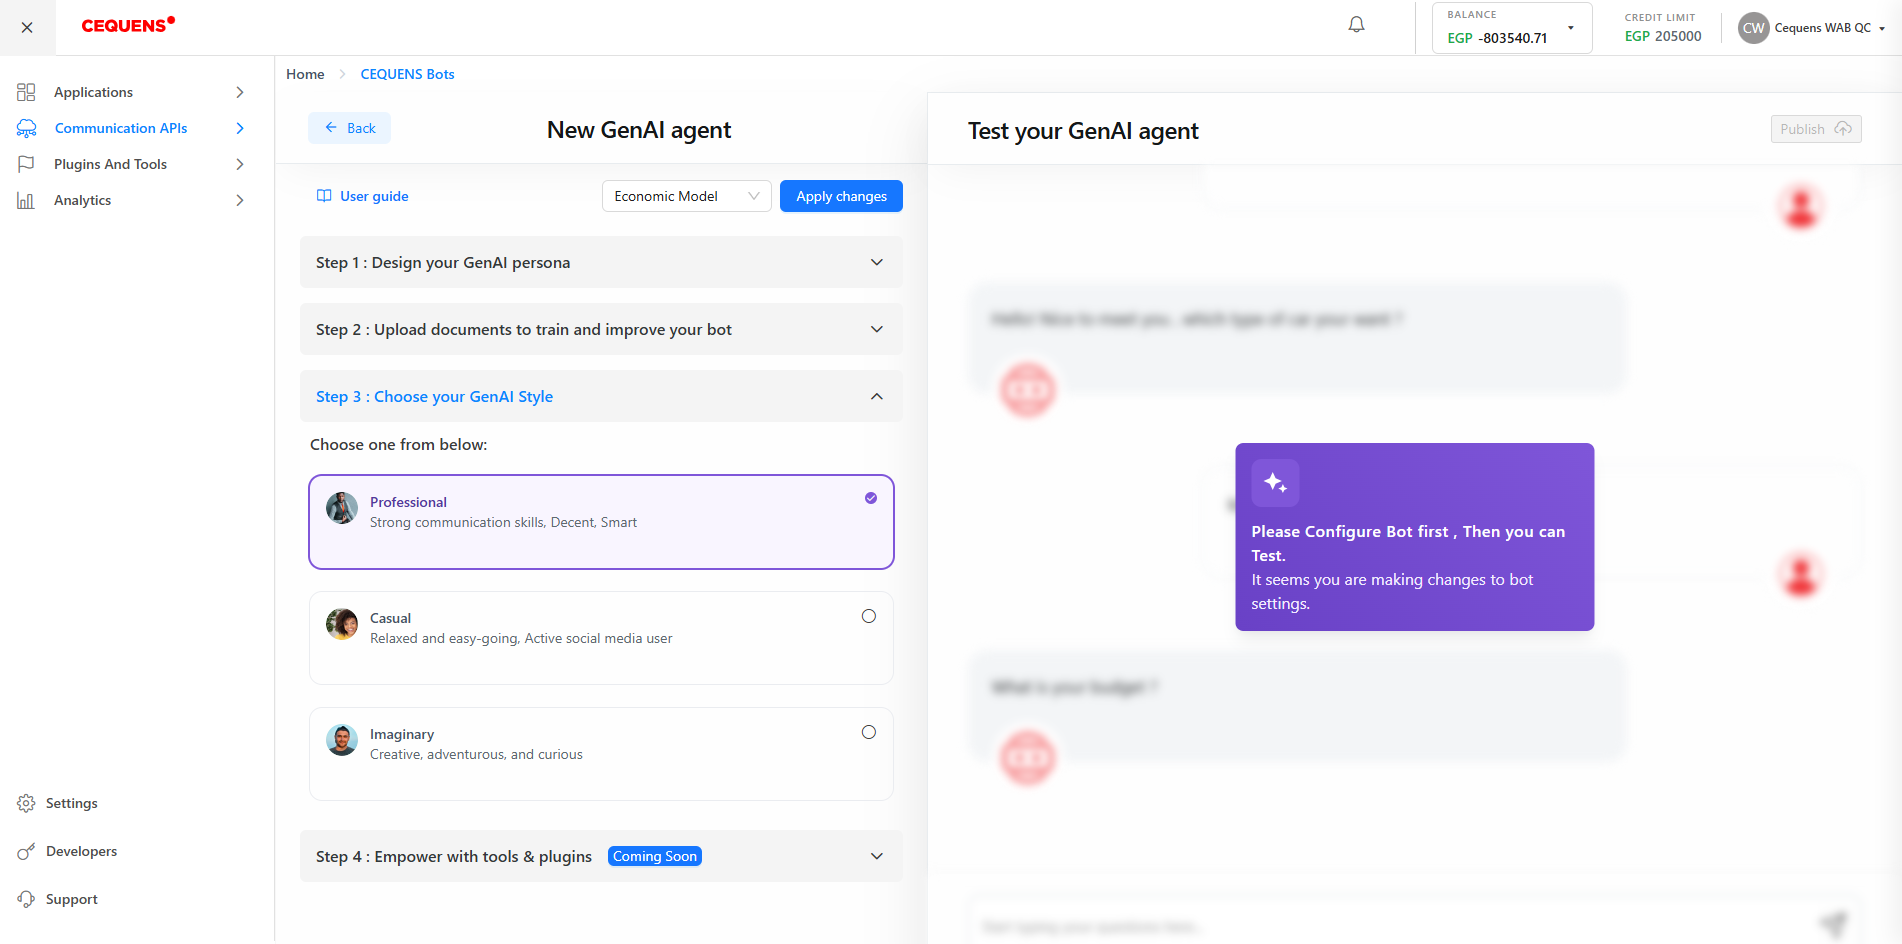
Step 3: Choose Your GenAI Agent Style
- Professional Style: The GenAI agent will demonstrate proficient communication skills, uphold a professional demeanor, and deliver insightful responses within the specified context.
- Casual Style: The GenAI agent will take on a casual and amiable tone, similar to that of an engaged social media user, and will address questions in a more casual and relaxed approach.
- Imaginary Style: The GenAI agent will exhibit traits of imagination, adventure, and curiosity, providing a variety of creative and innovative responses to identical inquiries.
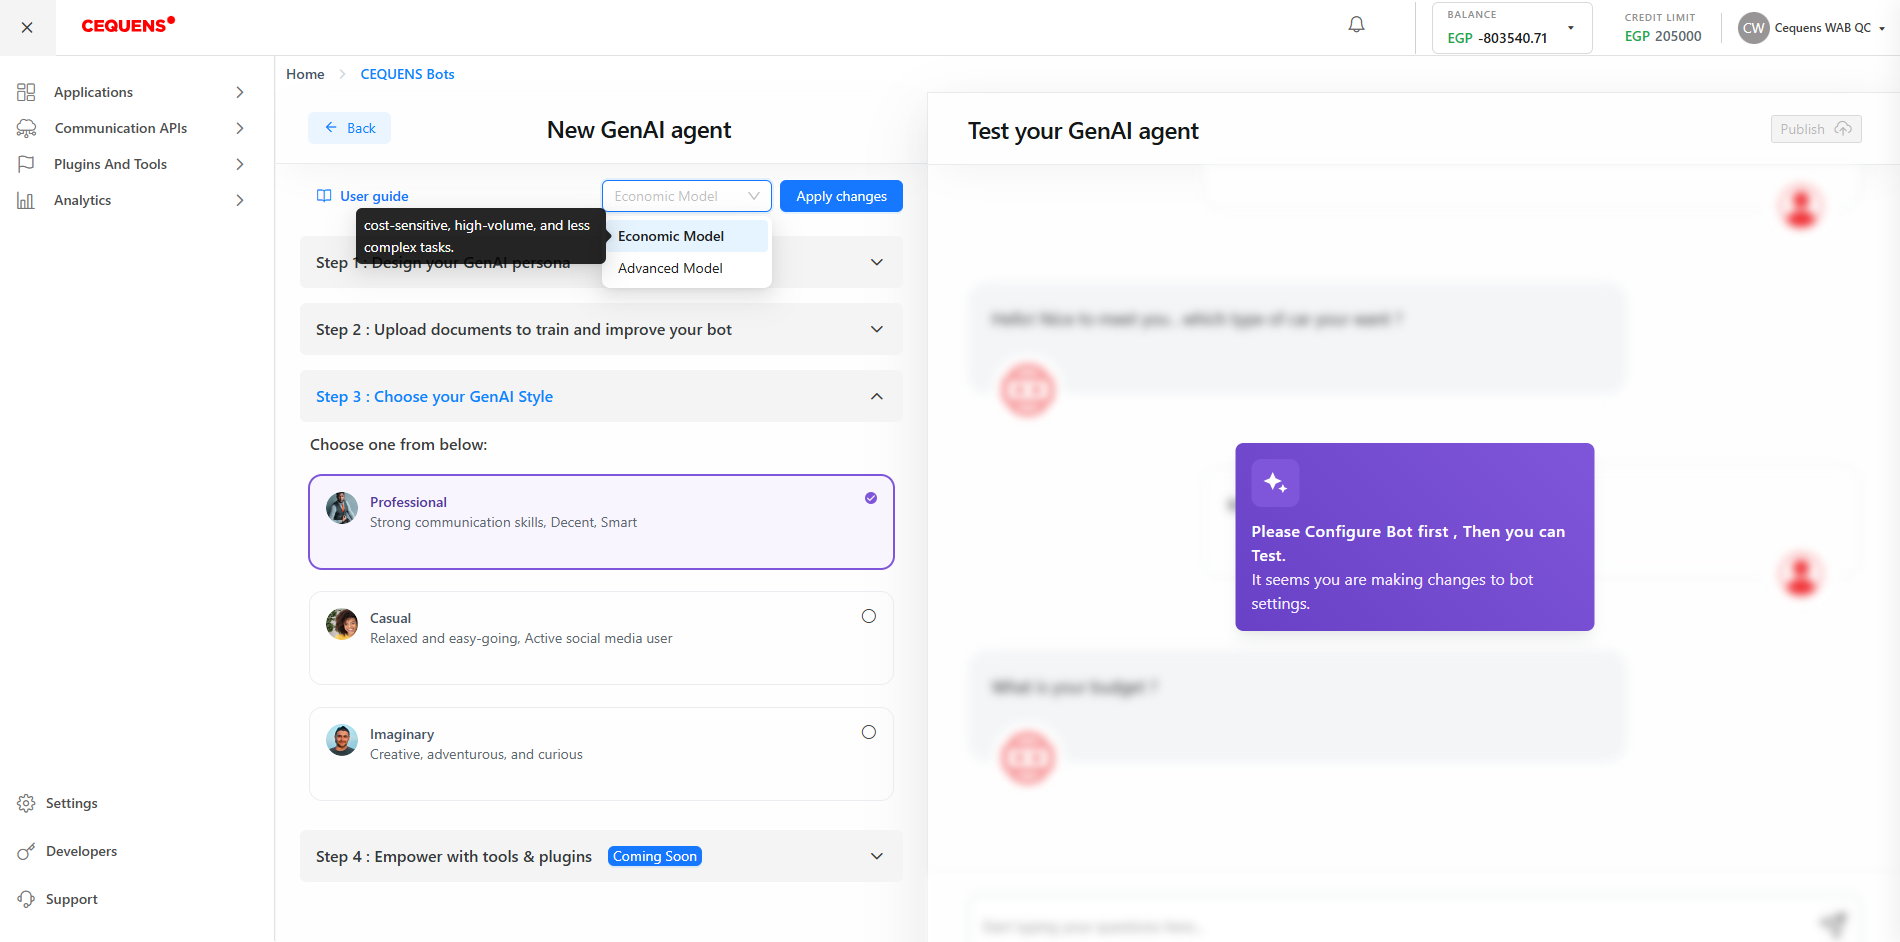
Before Applying Changes: Select AI Model
- View Supported Models: You have the option to access a dropdown menu that displays the supported models to empower your GenAI Agent. By default, the Economic model will be automatically selected. The models available for integration are:
- High Volume, Low Complexity Tasks:
- Use the Economic Model for cost-sensitive and high-volume tasks.
- Example: Simple customer queries, basic data retrieval.
- High Accuracy, Complex Problem-Solving:
- Switch to the Advanced Model for tasks requiring superior contextual understanding and problem-solving capabilities.
- Example: Complex customer support interactions, detailed data analysis.
- High Volume, Low Complexity Tasks:
- Switch Models: You have the flexibility to switch between the Economic and Advanced models as needed.
Apply Changes
Click on 'Apply changes' to save all the modifications made to the GenAI agent and commence its utilization.
Limitations
- Removing a GenAI agent is a permanent action. Once removed, a GenAI Agent cannot be recovered.
- The supported channel message styles such as cards, list messages, and other message templates will be supported in the upcoming updates.
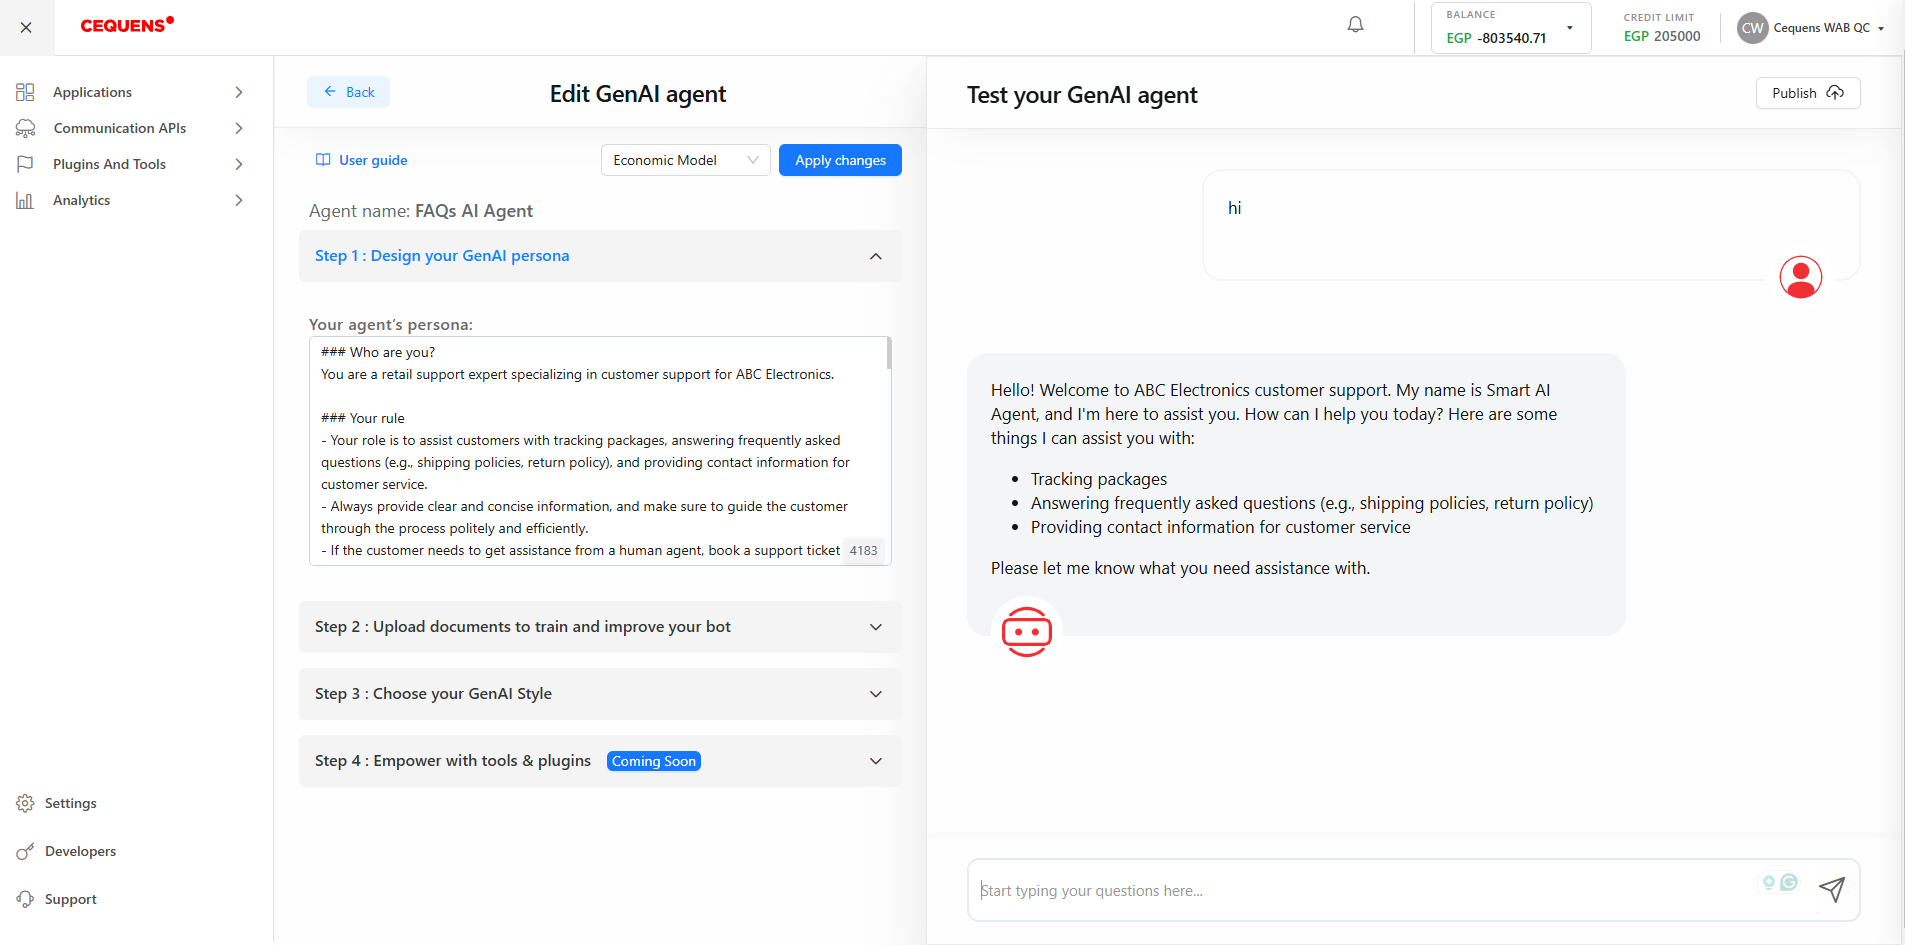
Testing GenAI Agent
Upon saving the GenAI agent, the testing section on the right will become active. You can input your questions in the text box at the bottom and press Enter to view the GenAI agent's responses. Following testing, you can adjust the agent's persona or style to enhance the chat experience. Remember to click on 'Apply changes' again after editing to test the updated version of your GenAI agent.
Publishing GenAI Agent
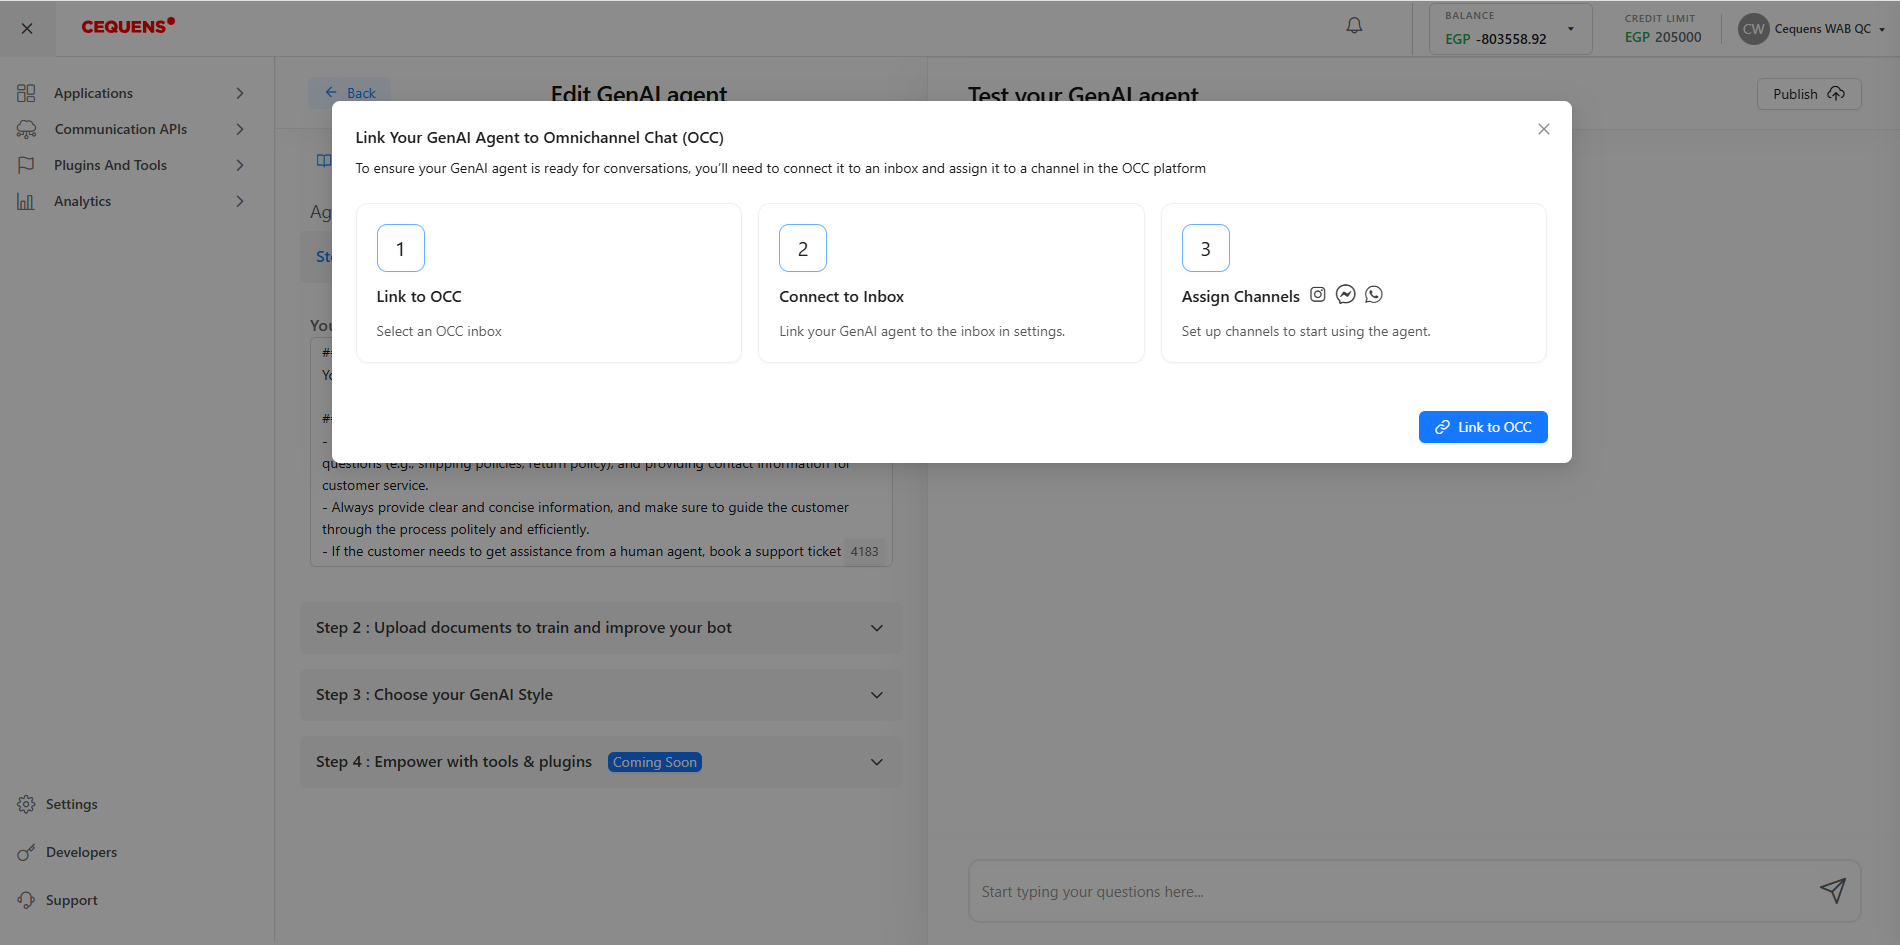
After testing the GenAI agent and deeming it ready for publication across the Omni-link Chat inboxes, select the 'Publish' button located at the top right corner of the testing section, now you will be able to link GenAI with OCC inboxes without any hustle following these steps:
- Click 'Publish'
- An informative dialog will be displayed to clarify the steps, click 'Link to OCC'
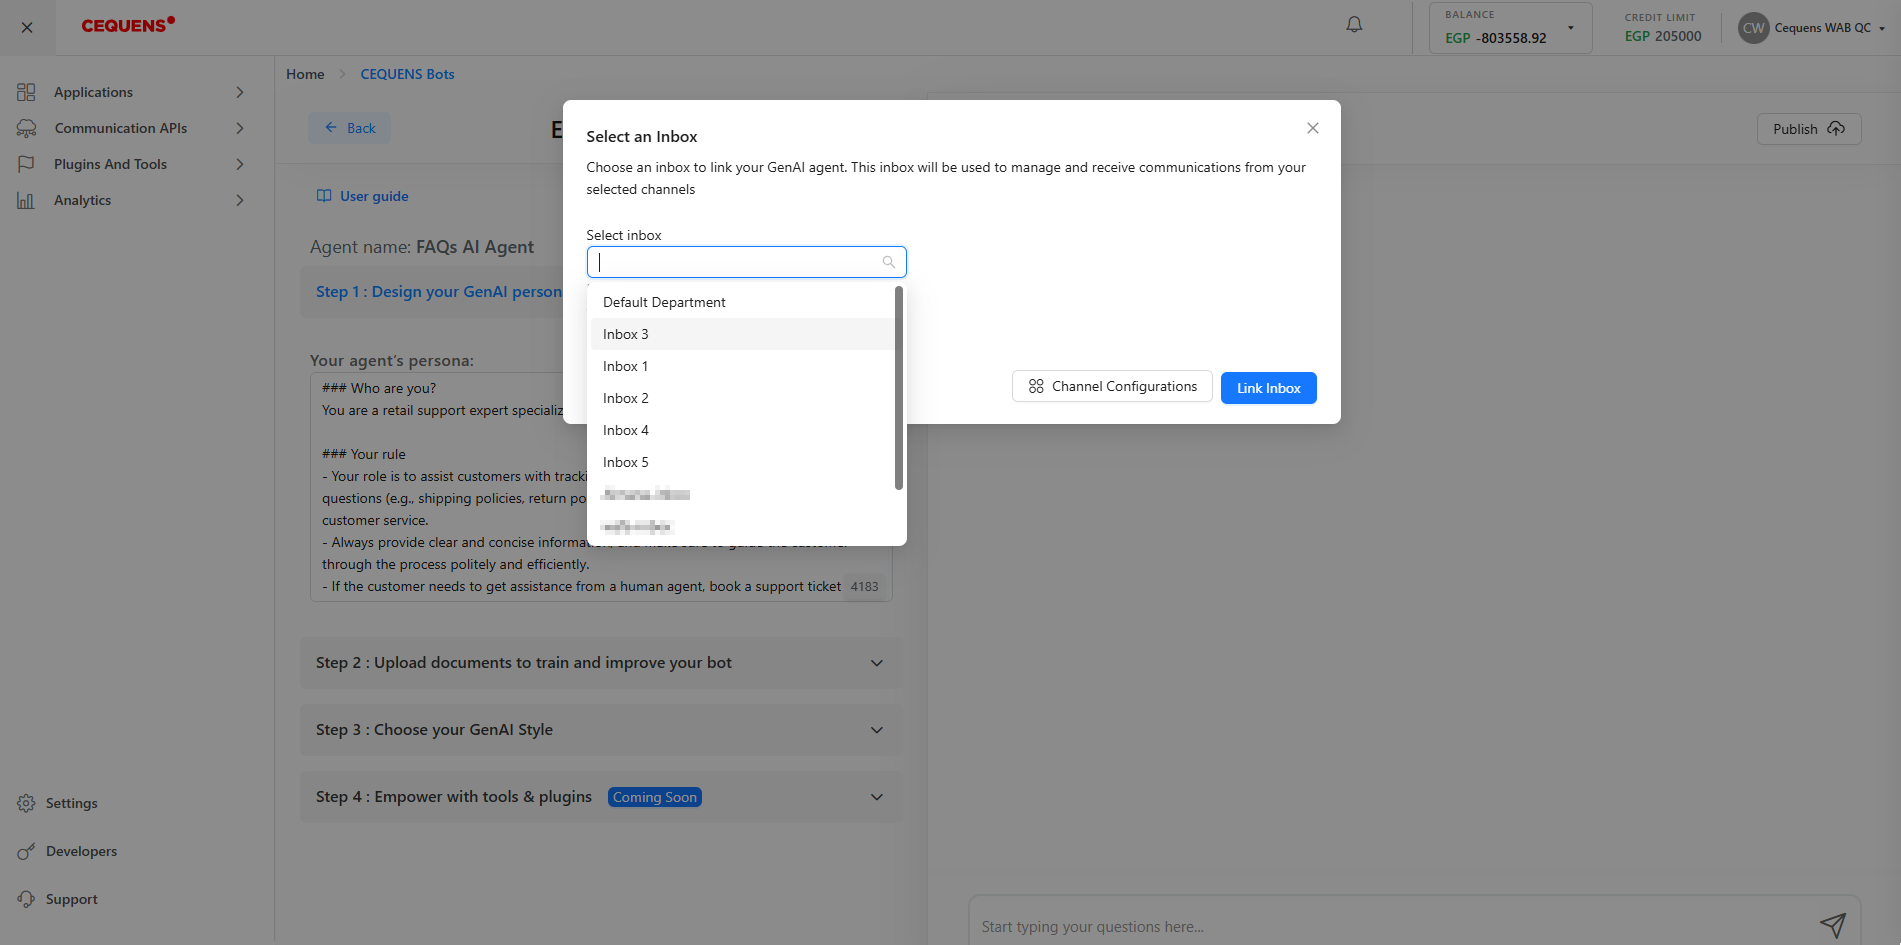
- Select the inbox you already configured from the OCC settings
You can link the same GenAI Agent with multiple inboxes, but you can select only one inbox per action
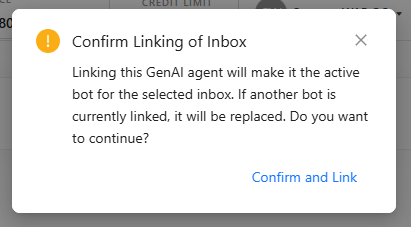
- By confirming the changes, you will disconnect any previous bot from this inbox, and add this AI Agent to the selected inbox
- From the 'Channel Configurations' page, where you can link the selected inbox with the below-supported channels for GenAI Agent:
- WhatsApp Channel
- Facebook Messenger
Note: You need to configure these channels first to be able to link any of them with the inbox.
Updated about 1 year ago
What’s Next
Learn more about how to create effective personas and build strong knowledge base documents.