Email Templates
Creation
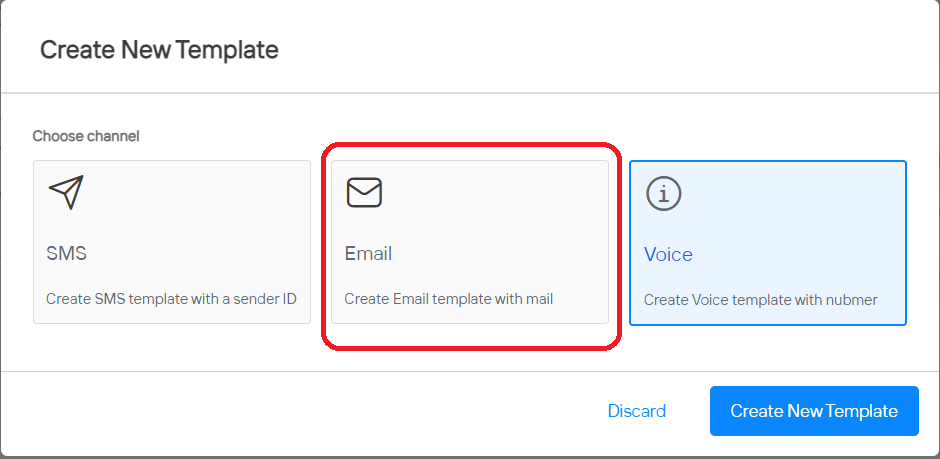
- Likewise, to create an email template, choose "Email" from the pop-up menu.
- You'll be directed to a screen where you can input template details. Here, select the sender ID, enter the email subject, template name, and content. Additionally, you can utilize the text editor to insert images, headings, and design the content.

- Click on "Add OTP" to automatically insert the OTP code into the email.
- Click the "Submit for Approval" button to initiate the submission of the template for approval.
Listing View
- All created Email templates will be displayed in the Email tab on the Multi-Factor Authentication (MFA) page.
- To view a specific Email template, click on the eye icon in front of the template name.
- A pop-up window will appear, where you will find the template ID necessary for API usage.
Edit
- Templates can be edited directly from the templates listing page.
- To edit a template, click on the edit icon next to the template name.
- You can then modify the details of the template and submit it for approval.
- It's important to note that if an approved template is edited, it will undergo the approval process once again.
Delete
- Templates can be deleted directly from the template listing page.
- To delete a template, click on trash icon next to the template name.
Updated about 1 year ago