Facebook Messenger Onboarding Guide
Connect your Facebook Messenger channel to start receiving and sending messages from our platform.
1. Prerequisites
- You have a Facebook account with admin or editor rights on the Facebook Page you plan to connect.
- The Facebook Page is live (not unpublished or restricted).
- You are logged into Facebook in the same browser when authorizing permissions.
2. Begin Setup
Open the Console & Start Connection
- Log in to your account on our platform.
- Navigate to Channels → Messenger. https://console.cequens.com/messenger/settings
- Click Manage Pages.
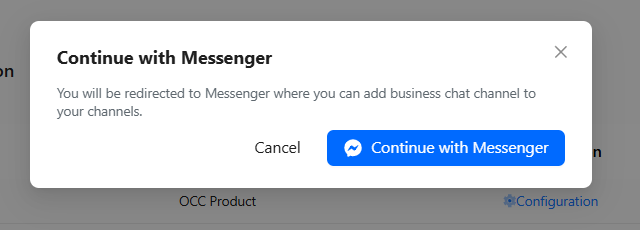
Authorize via Facebook
- You will be redirected to Facebook’s authorization screen.
- Select the Facebook Page you want to connect from the list (ensure it’s the correct one, especially if you manage multiple pages).
- Grant the required permissions (page management, messaging, etc.).
- Confirm/Accept to complete authorization.
Confirm Connection in Platform Console
- After authorization, return to our platform’s console.
- The connected Page should now appear in the Facebook Messenger Configuration table.
| Connect with your FB account | Select FB Page/s | Select Business Asset/s |
|---|---|---|
 | 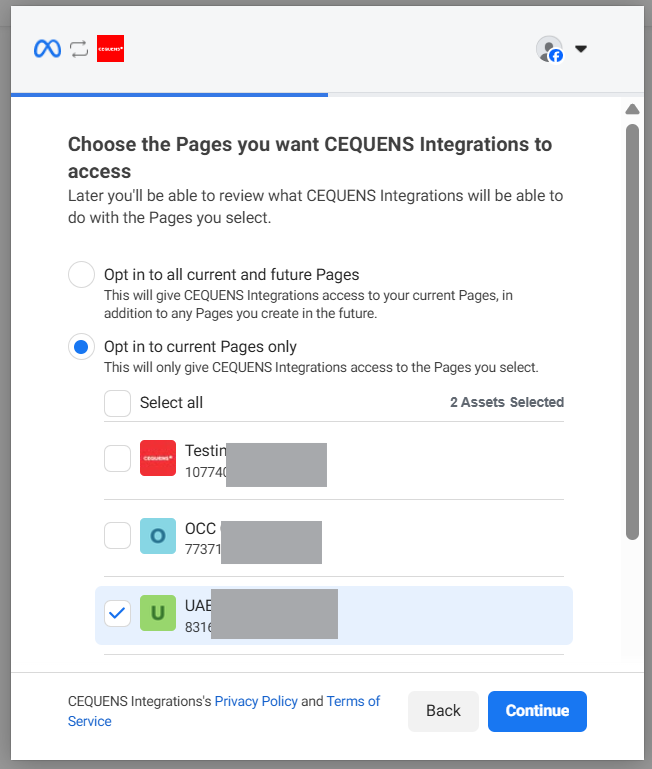 | 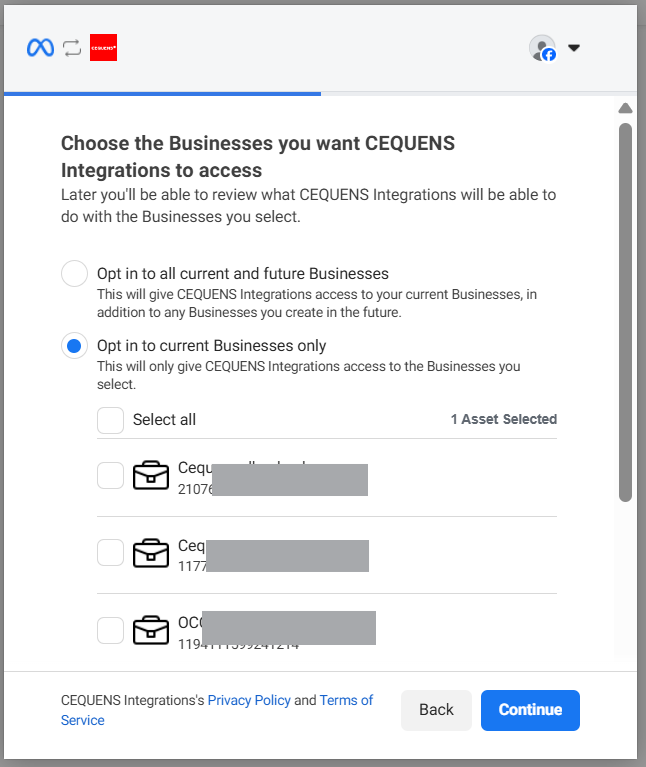 |
- View the selected items, and click Save.
- Don't close the page until all changes are configured.
3. Post-Setup Checklist
Once connected:
- Verify that messages from customers are flowing into the platform.
- If you support sending replies or automated messages, test sending a reply to confirm the outgoing flow works.
- Ensure you (or your Facebook Page managers) keep admin/editor permissions — needed for ongoing access.
4. Configure Your Channel
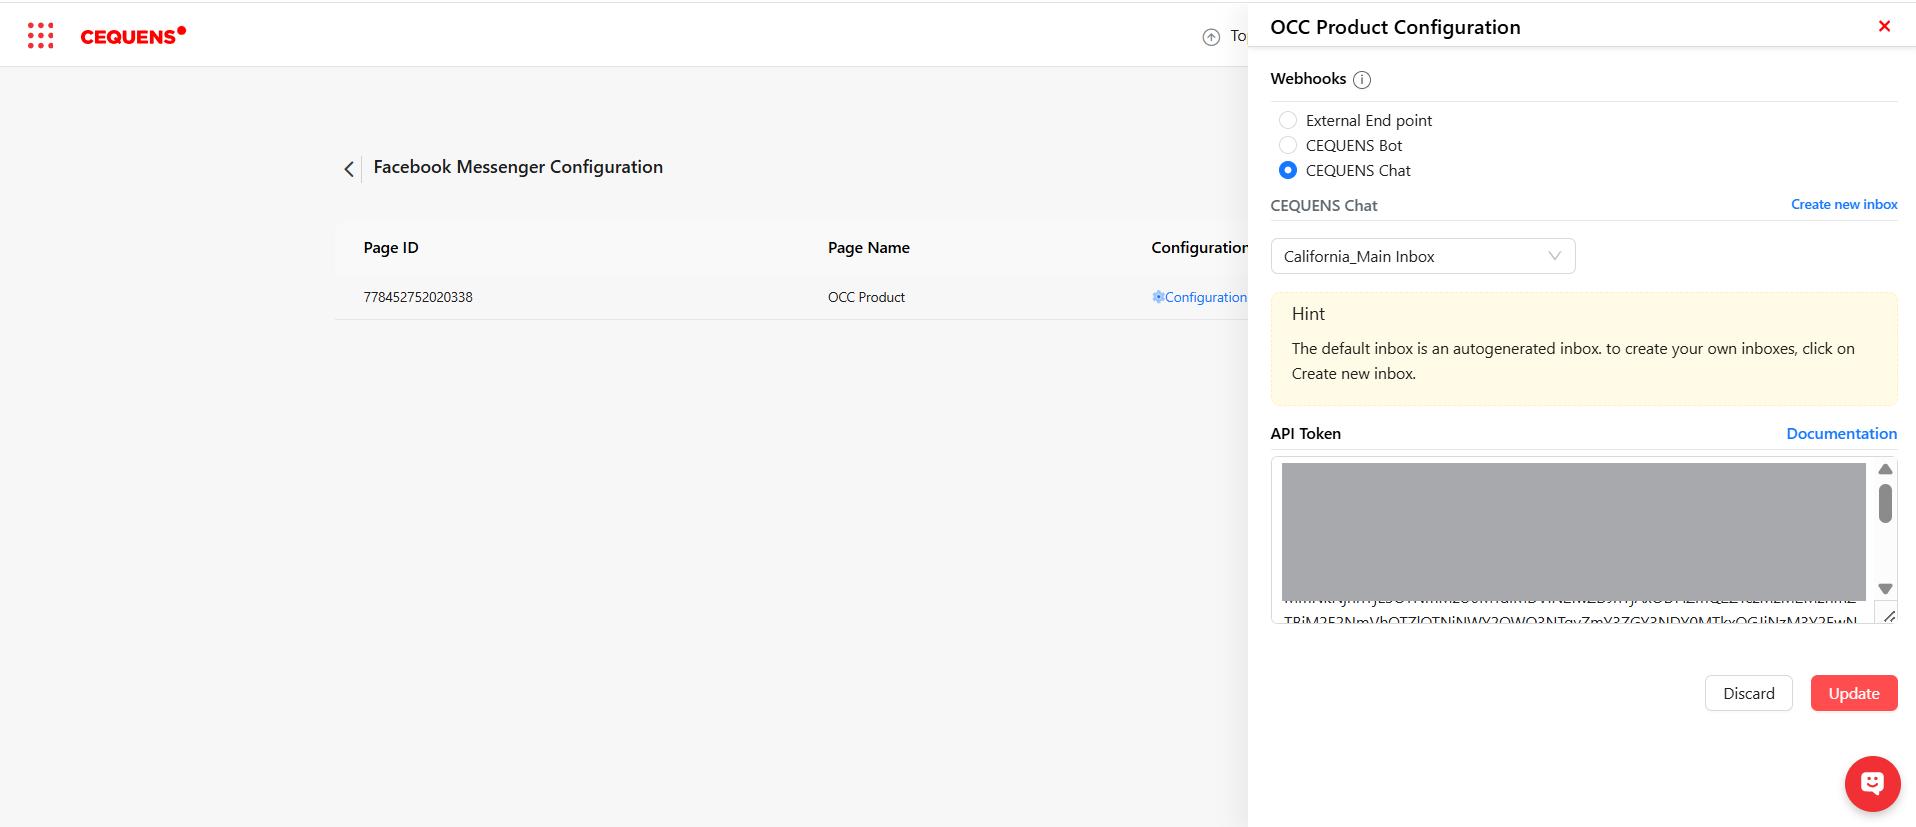
Once your channel is connected, you need to link it with a messaging endpoint so you can start sending and receiving messages. You can do this in one of three ways:
1️⃣ External End Point
- Link this channel to an external endpoint that you manage.
- All incoming and outgoing messages traffic will go through your external service.
- You will need to provide the endpoint URL and configure authentication if required.
2️⃣ CEQUENS Bot
- Link this channel with a Rule-based bot created in the CEQUENS system.
- Messages received on this channel will be handled by the bot according to your defined rules.
- Outgoing messages can also be automated using the bot’s workflows.
3️⃣ CEQUENS Chat
- Link this channel to CEQUENS Omni-Channel Chat (OCC) service.
- All messages will flow directly to the Omni-Channel Chat inbox, allowing your agents to manage customer conversations in real-time.
- Ideal for businesses that want agent-assisted chat instead of full automation.
Note: Only one linking method can be selected per channel at a time. You can change this later by reconfiguring the channel in the console.
5. Troubleshooting
⚠ Messenger Page doesn’t appear during Meta selection
- Make sure you have Admin or Editor access to the Facebook Page.
- Confirm the Page is published and active.
- Ensure you're logged into the correct Facebook account.
⚠ Messages are not being received
- Check Page inbox settings on Facebook:
Facebook Page → Settings → Messaging → Starting a Messenger Conversation
Ensure message access is allowed. - Confirm no message restrictions or filters are blocking incoming messages.
⚠ Permissions error after connecting
If you see any permission-related errors:
- Go to Facebook → Settings → Business Integrations.
- Remove our platform integration.
- Reconnect Messenger through our console.
This refreshes permissions and fixes authorization issues.
⚠ I changed my Facebook password
Changing your Facebook password will invalidate some permissions.
To restore full functionality:
👉 Open our console → go to Channels → Messenger → click Reconnect.
This will reauthorize your Messenger Page and fix the issue.
⚠ I connected Messenger directly through Facebook instead of through the console
If you connected Messenger manually through Facebook:
- Required permissions may not be granted.
- Webhooks may not be configured.
- Messaging may not work correctly.
To fix this, you must:
👉 Redo the entire onboarding through our console so all settings are configured properly.
⚠ Messenger is restricted or not receiving messages
This may happen if:
- The Page is new.
- The Page is restricted or under review.
- Activity thresholds have not been met.
Wait 24–48 hours or contact support if the issue continues.
6. Tips & Best Practices
- Use a dedicated Facebook Page for customer support to avoid mixing personal and business messages.
- Limit the number of connected Pages per account to avoid confusion (especially if your users manage multiple pages).
- If your business uses automated bots or workflows, test thoroughly after setup to ensure correct permissions and message flows.
- If there are multiple team members, inform them about admin/editor permissions — changes in Facebook roles could break the connection.
Updated 7 months ago