Inboxes & Queuing System
The "Inboxes" feature in CEQUENS Chat settings provides users with comprehensive management capabilities for organizing and configuring different communication channels.
- To manage the inboxes, click on the Inboxes option in the left menu.
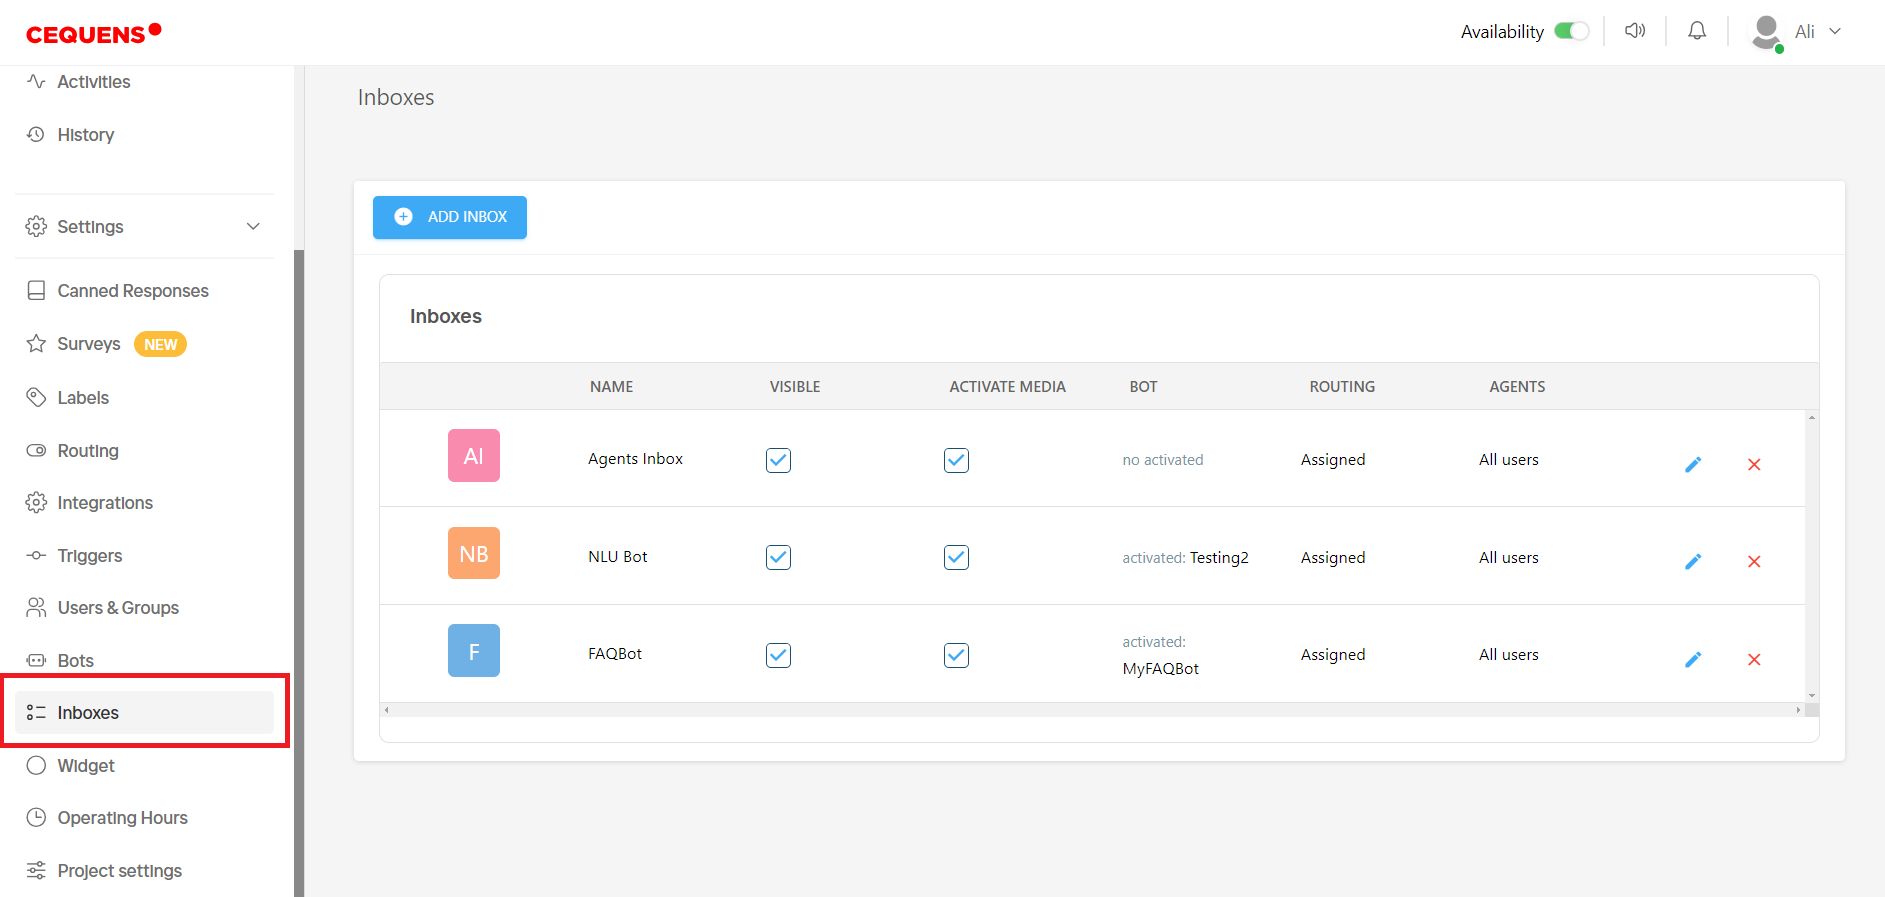
- On the inbox listing page, you will find all the inboxes created in the system.
- You can adjust the visibility and media settings by ticking the checkboxes in the Visible and Activate Media columns.
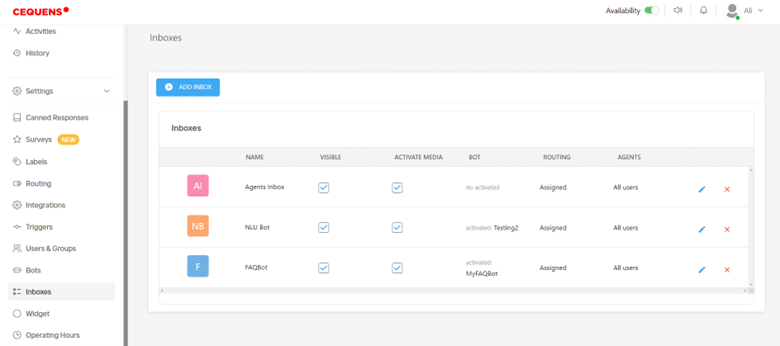
- You can also see if any bot is activated against the inbox.
- You can edit or delete the inbox by clicking on the respective icons in the Actions column.
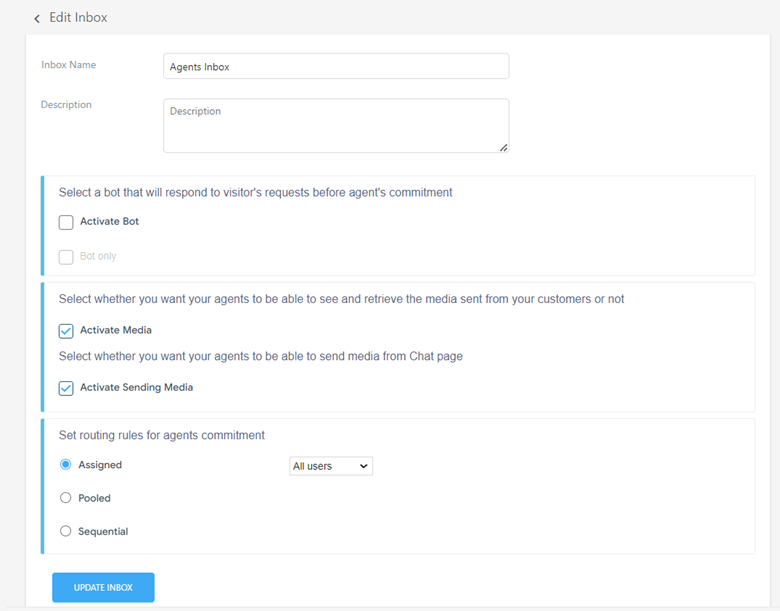
- Click Edit icon to edit the inbox details. After editing click on Update Inbox button to save the changes.
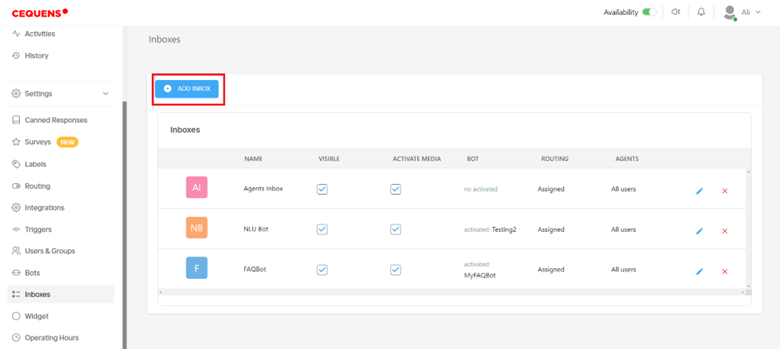
Adding a New Inbox
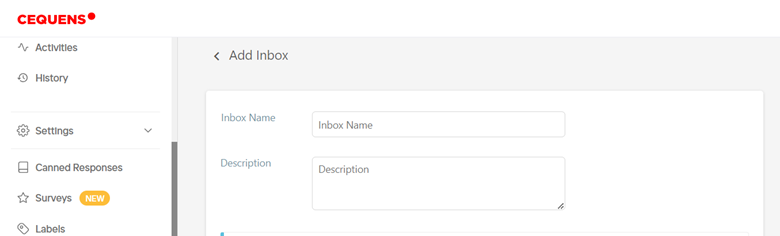
- To create a new inbox, click on the Add Inbox button.
- Enter the Inbox Name and Description.
Bot Configuration
- If you want to use the bot to respond to visitor’s requests before agent’s commitment, tick the checkbox Activate Bot and select the relevant bot from the dropdown. If there is no bot, you can create a new bot by clicking Create New Bot.
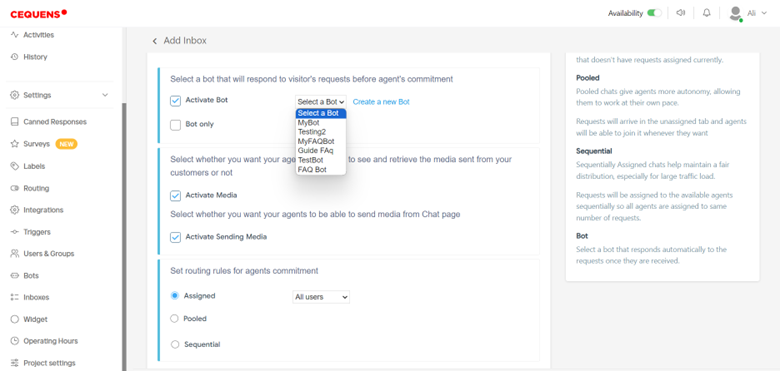
- If you only want bot to respond to visitor’s requests, tick the checkbox Bot Only.
Media Settings
- Mark the "Activate Media" checkbox to grant agents access to view and retrieve media files sent by customers. If you have disabled the media, then you can specify an automated message to be sent to the end user once they send any media file. Additionally, enable the "Activate Sending Media" checkbox to allow agents to send media files from the Chat page.
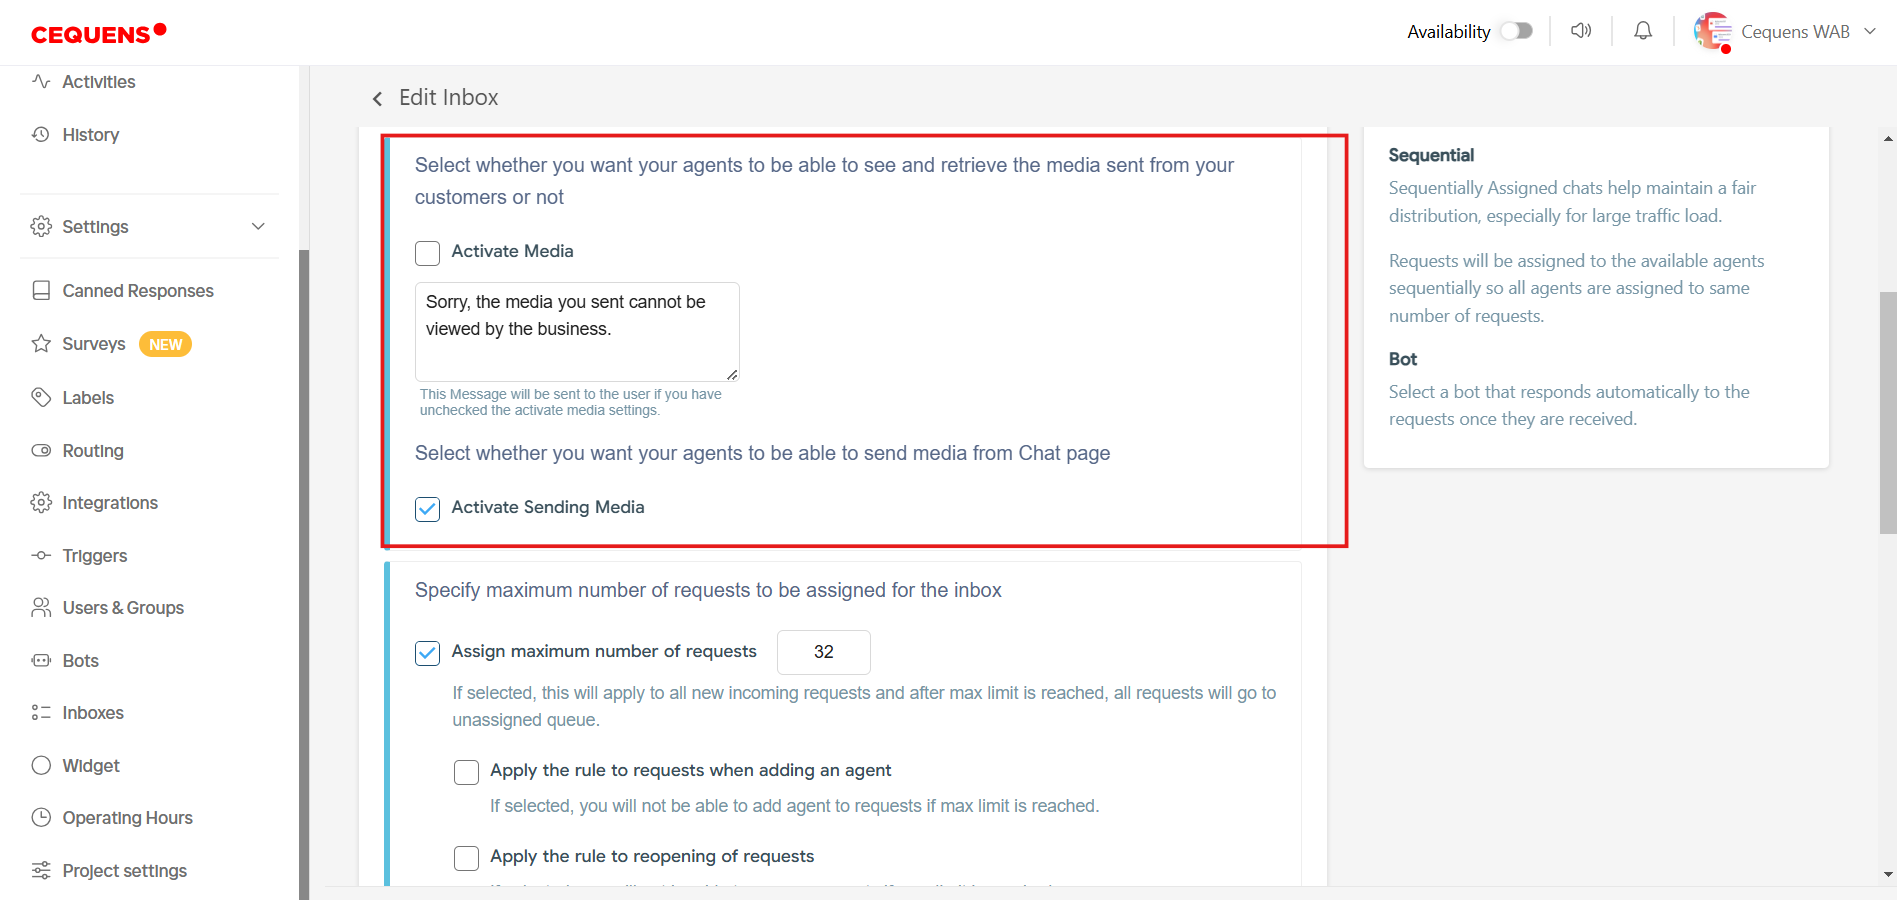
Maximum Number or Requests on Inbox Level
- You can enable the maximum number of requests for inbox. With this feature, you can define a maximum number of requests an agent can handle at the inbox level. This helps ensure an even workload distribution and efficient request management. The rule applies to the following scenarios:
- New Incoming Requests: Enabling the main setting will apply the rule to all new incoming requests in this inbox.
- Reopening an Existing Request: When a closed request is reopened, the system checks if the agent has capacity based on the configured limit.
- Adding an Agent to a Request: If an agent is added to handle a request, the system ensures they are within their maximum allowed limit.
- Reassigning a Request to Another Inbox: When a request is moved to a different inbox, the system validates capacity before assigning it to an agent.
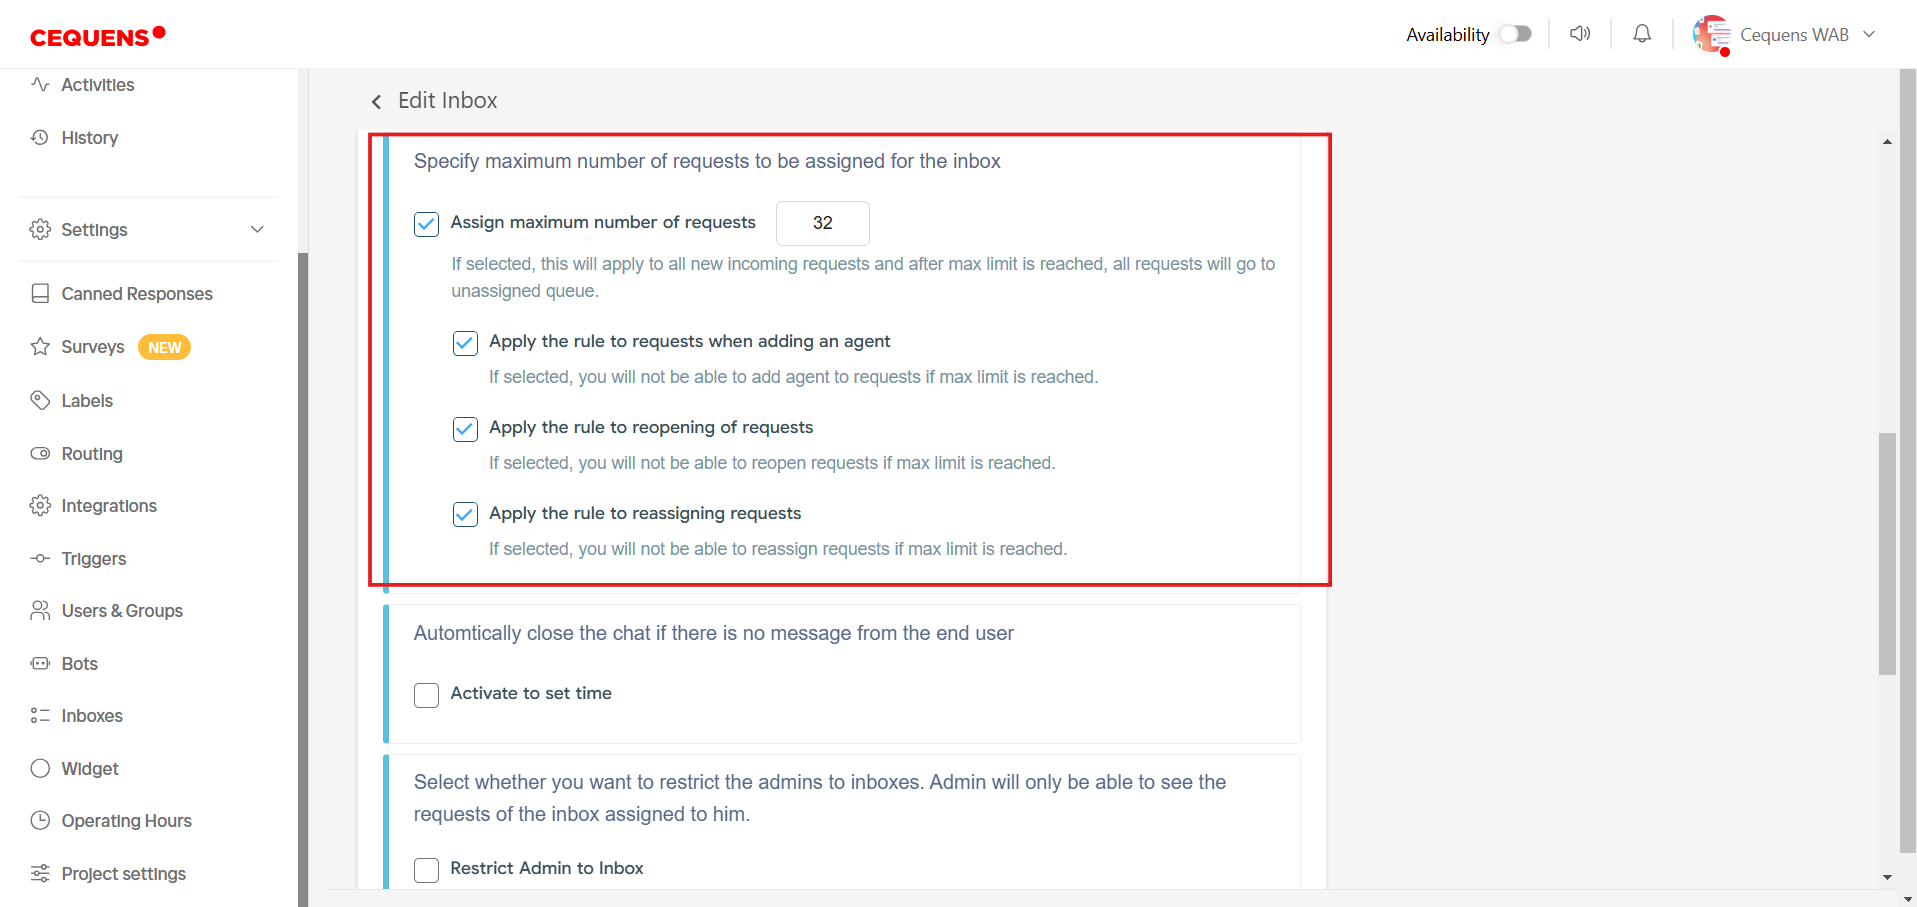
- Once the maximum number of requests is reached in an inbox, any new conversations for that inbox will automatically move to the Unassigned tab. These conversations will remain unassigned until the number of active requests drops below the configured limit.
- Agents can focus on their current workload without being overwhelmed, as the system automatically enforces these rules.
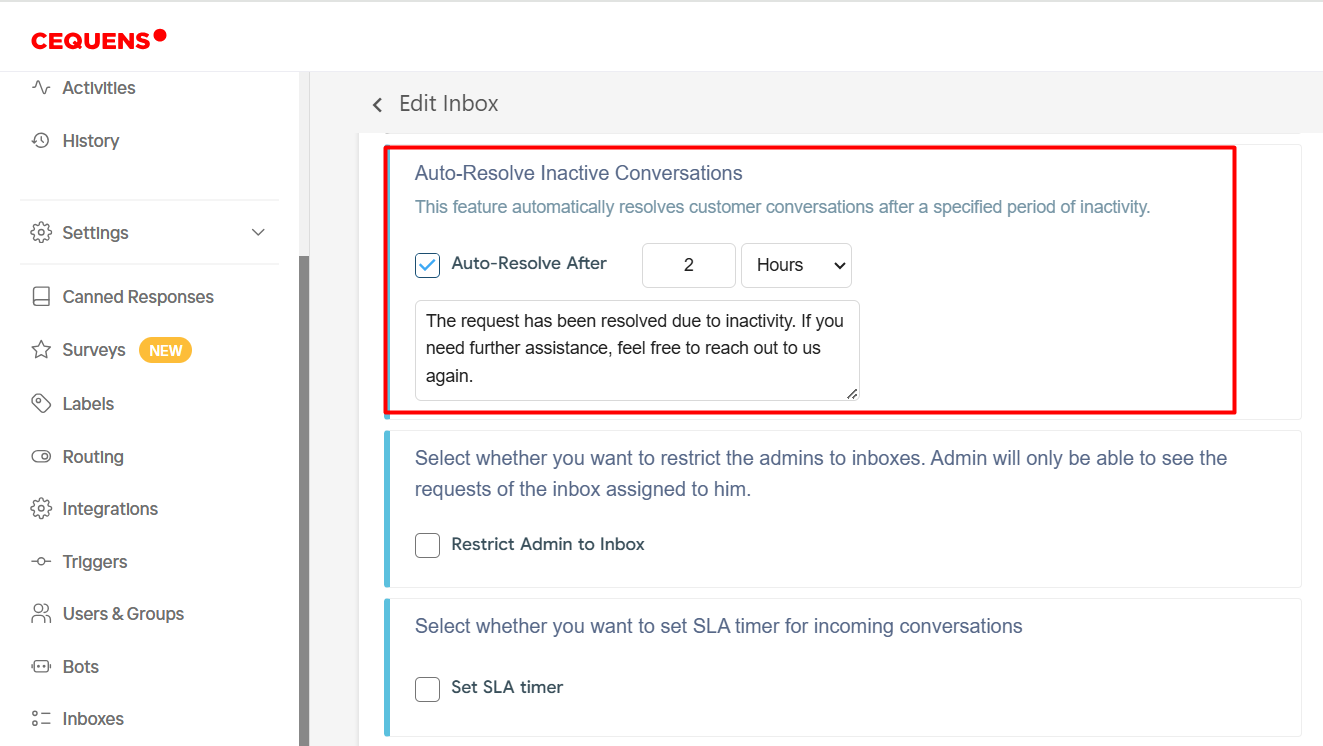
Resolve the Request After Customized Time
- With this feature, you can enable automatic resolution of requests if there is no response from the end user within a specified timeframe.
- Additionally, you can configure an automated message to inform the end user that their request has been marked as resolved.
- Navigate to the inbox configuration settings and activate the auto-resolution option.
- Set the desired inactivity period (e.g., 60 minutes). If the end user does not respond within this timeframe, the system will automatically resolve the conversation.
- Define the message to be sent to the end user, informing them that their request has been resolved due to inactivity.
Example
- If the timeframe is set to 60 minutes and no response is received from the end user during this period, the conversation status will change to Resolved.
- The automated message (e.g., "Your request has been marked as resolved due to no further response.") will be delivered to the end user.
Restrict an Admin Access to an Inbox
- With this feature, you can limit an admin's access to a particular inbox, ensuring they only manage requests specific to that inbox.
- In the inbox configuration, locate the option 'Restrict Admin to Inbox' and activate it.
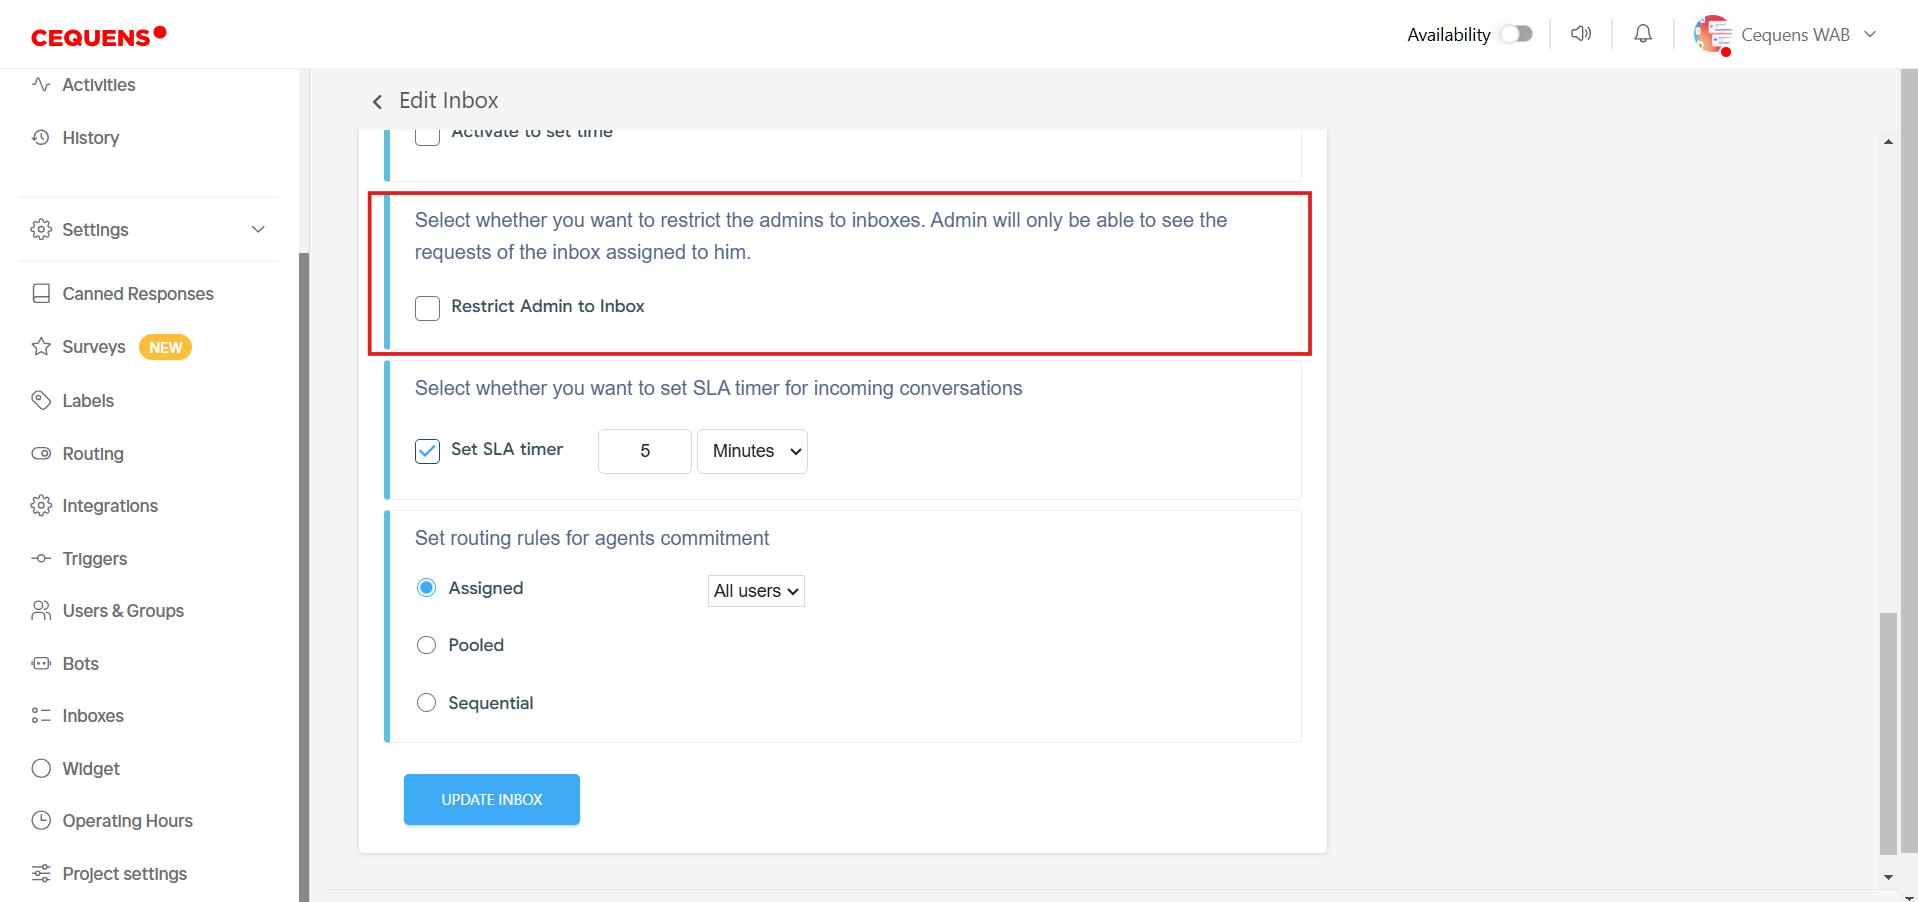
- The restricted admin will only be able to view and manage requests for the assigned inbox.
- They will not have visibility into requests from other inboxes in the system.
Routing Rules
- Define routing rules to govern agent engagement:
a. Assigned: Requests are automatically assigned to the first available agent without any prior assignments. This method is suitable for evenly distributing workload among larger teams.
b. Pooled: Requests initially remain unassigned and are available for agents to pick up at their discretion, providing them with more autonomy.
c. Sequential: Requests are assigned to agents in a sequential order to ensure an equitable distribution of workload across all agents.
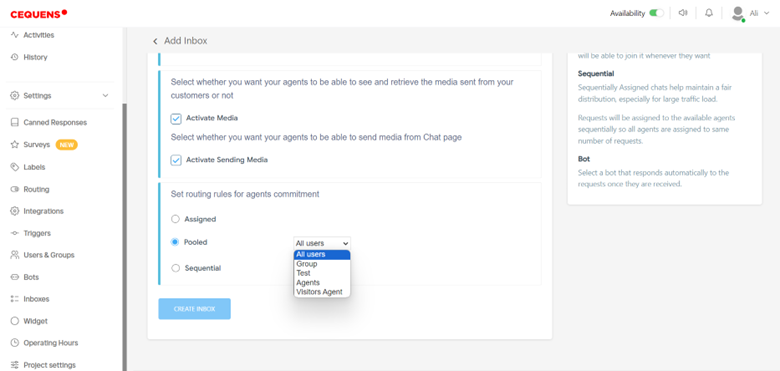
- Specify which group of agents will adhere to the selected routing rules. This allows for customized routing configurations based on team preferences and requirements.
- Click on Create Inbox to create the inbox in the system and it can be as & signed to agents or bots.
Updated 6 months ago