User Management and Groups
CEQUENS Chat offers robust user and group management capabilities, accessible through the "Users and Groups" option in the settings menu. Within this section, users can effectively manage user accounts and group configurations to streamline team collaboration and organization.
- To manage users and groups within the system, access the "Users and Groups" option from the left menu.
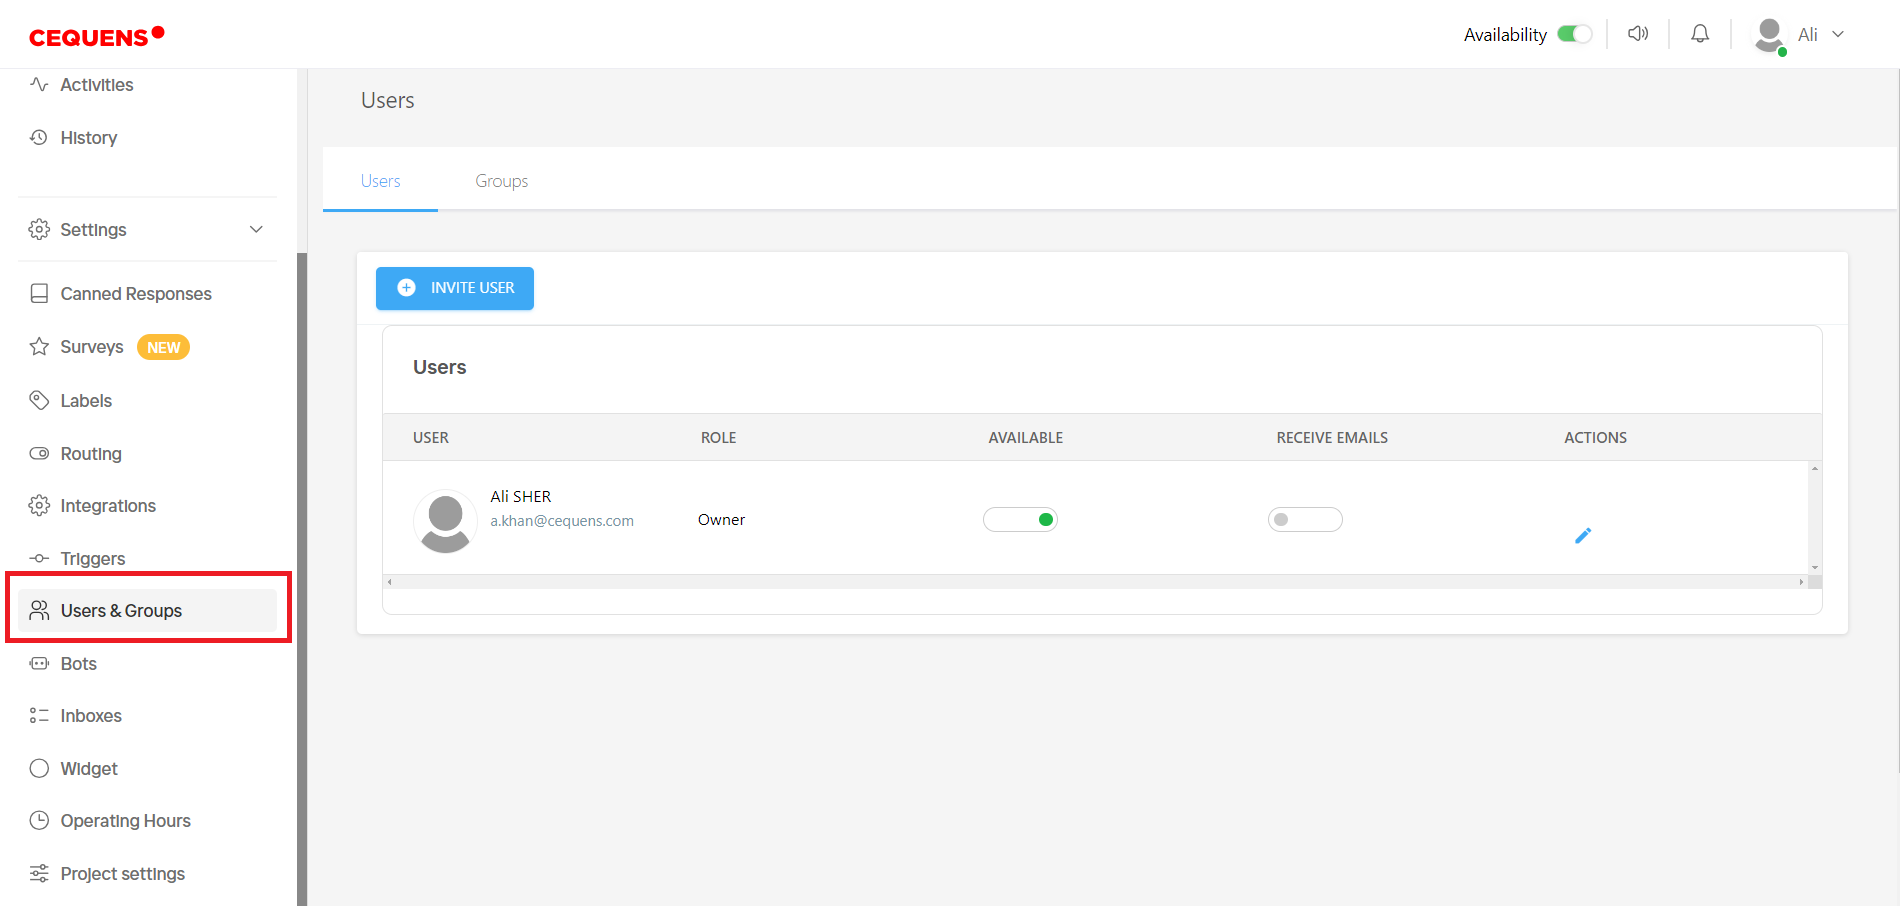
- Upon entering, you'll encounter two tabs: "Users" and "Groups".
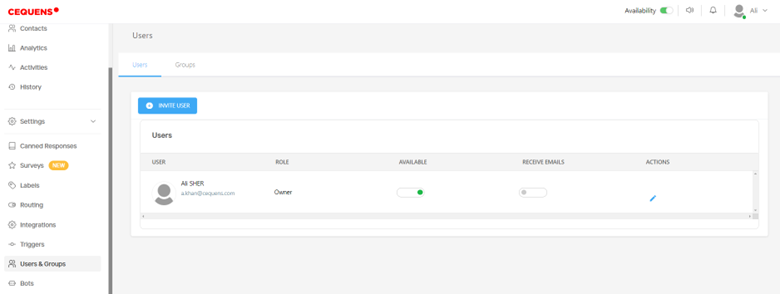
- In the "Users" tab, all invited users are listed, displaying their details such as Name, Email, Role, Availability Status, and Email Reception Status.
- The owner has the authority to alter availability status and email reception settings for any user.
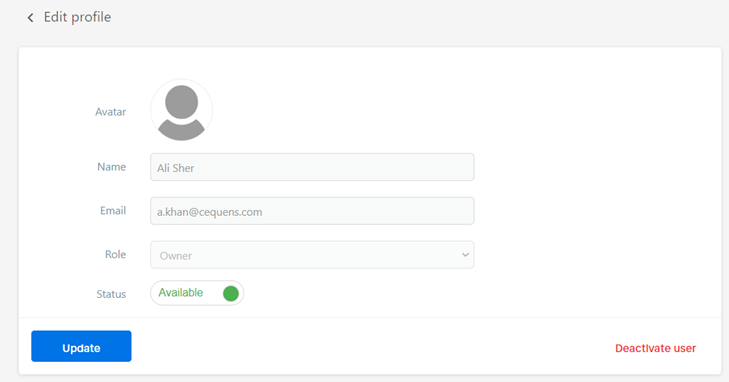
- From the actions column, users' details like name, email, role, and status can be edited by clicking on the edit icon. You can also deactivate the user by clicking on Deactivate User option.
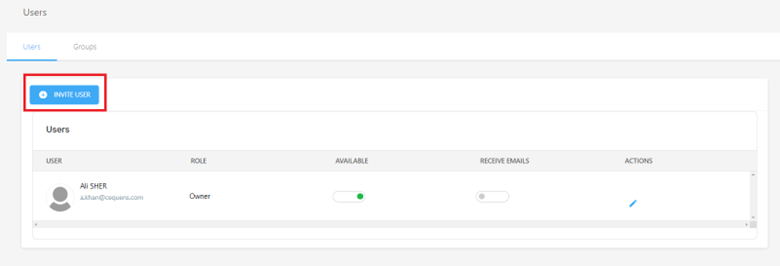
- To invite a new user, click the "Invite User" button on the users listing page.
- Enter the user's email address and select their role from three options: Owner, Administrator, or Agent.
a. Owners have full control over CEQUENS Chat. There can only be one owner.
b. Administrators possess access to all features and can manage users, requests, and visitors.
c. Agents can monitor help requests and engage with visitors.
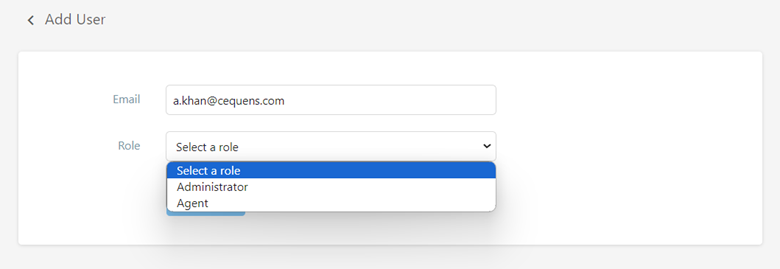
- After inputting the details, click "Invite User" to send an email invitation to the specified address.
Groups
- Switch to the "Groups" tab from the users listing page.
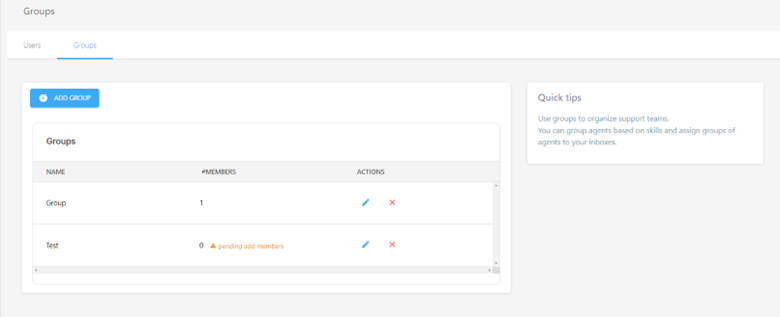
- Groups are utilized to organize support teams based on skills or other criteria and can be assigned to inboxes.
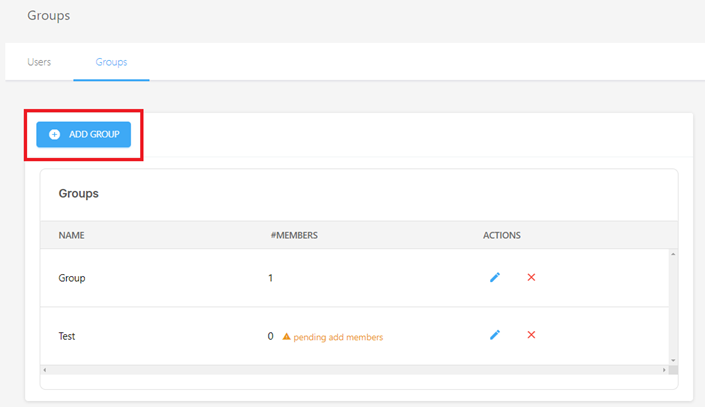
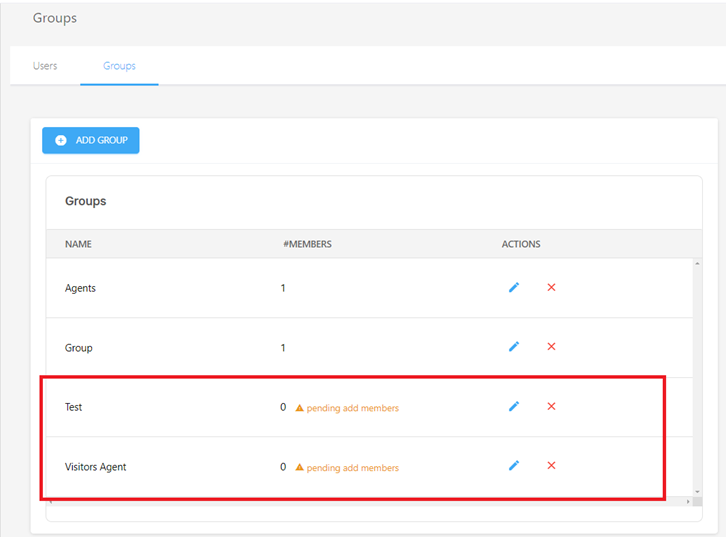
- The groups listing page displays all created groups along with the count of members, offering options to edit or delete a group.
- To create a new group, click on the "Add Group" button.
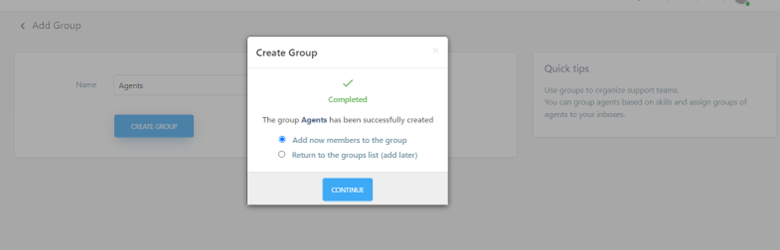
- Enter the group's name and click Create Group button.
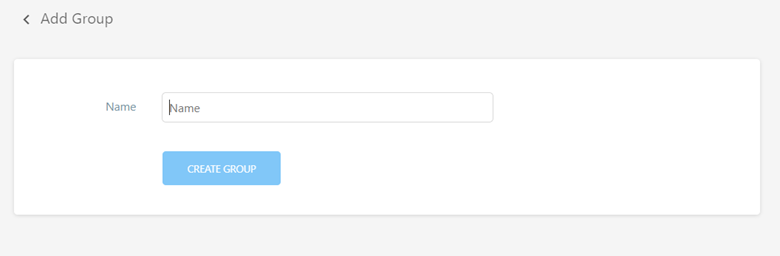
- A pop-up will appear with two options:
- "Add members to the group": You can add members to the group immediately.
- "Return to the groups list (add later)": You can add members later by editing the group.
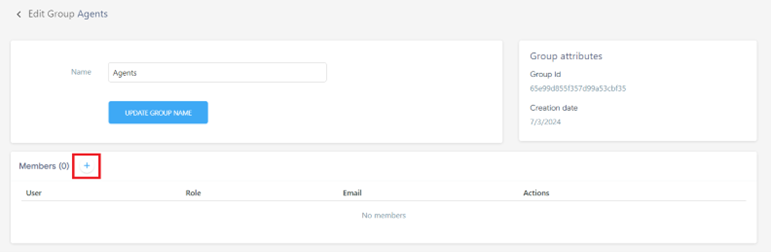
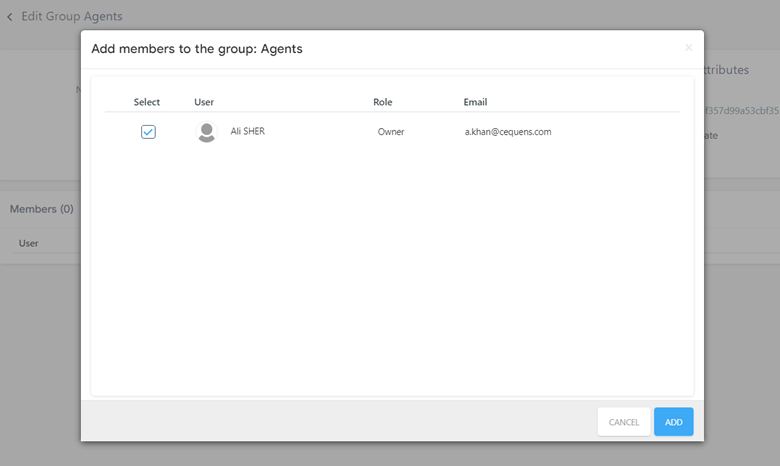
- If you choose to add members immediately, click the '+' icon to select users from the system and add them to the group.
- Select the members and click Add button.
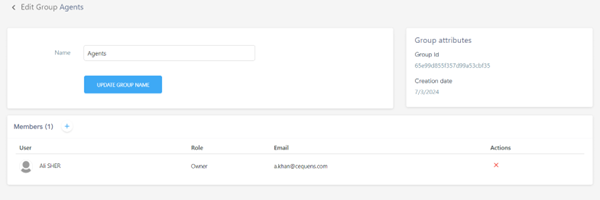
- The added members will be displayed in the members listing.
- If you opt to add members later, you'll be redirected to the group listing page to edit the group and add members later.
Updated 6 months ago